WoodWing Assets is one of the ways of Accessing files stored in Assets Server through a Web browser.
It provides easy access to content that is stored in Assets Server and because of its wide range of features it is perfect for both general and advanced use.
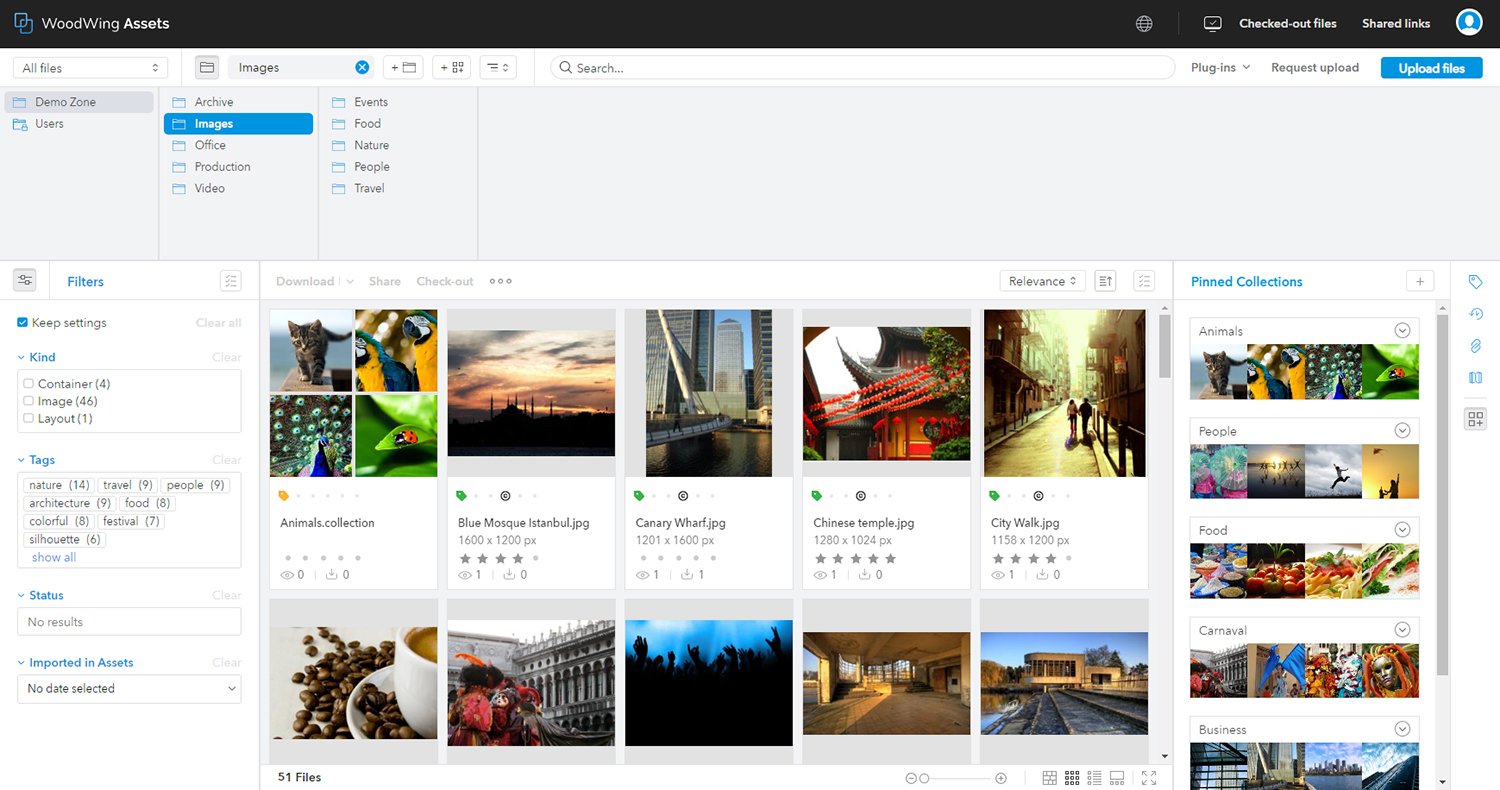
Figure: Accessing content in Assets Server through Assets.
This article describes how to set up Assets so that users can start using it. The following topics are described:
- Installation and configuration
- Required licenses
- Setting up user permissions
- Making the URL available
- Web browser compatibility
- Changing the look and feel
- Setting up download presets
- Controlling when uploaded files should be available
- Customizing the list for sorting assets
- Configuring the maximum resolution of the image used when zooming in
- Configuring the default expiration date of shared files
- Extending the functionality with plug-ins
- Configuring the Shared Links and Share Request pages
|
Info: Use the filter to only show information for one topic: |
Installation and configuration
Assets is part of Assets Server and is therefore installed as part of the Assets Server installation.
Network products and RFC compliancy
Assets is run in a Web browser and references to assets and queries are therefore expressed in URLs. These URLs can contain ////-sequences and diacritics such as accented characters.
Please note that the URLs that are generated by Assets are compliant with the URI syntax RFC 3986. Make sure that your network environment such as proxies, gateways and firewalls also support this standard so that the URLs can be successfully routed.
Required licenses
Assets is aimed at users with a Standard or Pro user license. Users with a Basic user license make use of the Brand portal.
Setting up user permissions
As for any other Assets Server client, users need to be given permission to use Assets and its features. This is done by using the tools in Assets as described in Controlling user permissions in Assets Server.
For Assets, take note of the following:
- Use the Capability named 'Web client' to provide users access to Assets.
- Check the list of client features in Controlling user access to clients and client features in Assets Server to see which apply to Assets.
Making the URL available
Distribute the following URL to users who need to use Assets:
<Elvis Server URL>/app
Example: localhost/app
Note that this is the same URL as the one for accessing the Brand portal. When accessing the URL and entering the log-in credentials, one of two things will happen:
- For users with a Basic user license the Brand portal will appear.
- For users with a Standard or Pro user license or for Super users, Assets appears.
Web browser compatibility
Make sure that users access Assets by using a Web browser with which Assets is compatible. For a full overview, see the compatibility of Assets.
Changing the look and feel
The look and feel of Assets can be changed to match the style of the brand that Assets is used for, for example by matching it with the branding of a company, product, or publication.
The following can be adjusted:
- The background image of the Sign In page
- The logo in the header
- The color of the header
- The highlight color (used for buttons, selections and various other small page items)
- The background color for thumbnails and previews of transparent images
- The 'favicon' shown in a Web browser
- The 'Feedback' and 'Help' links
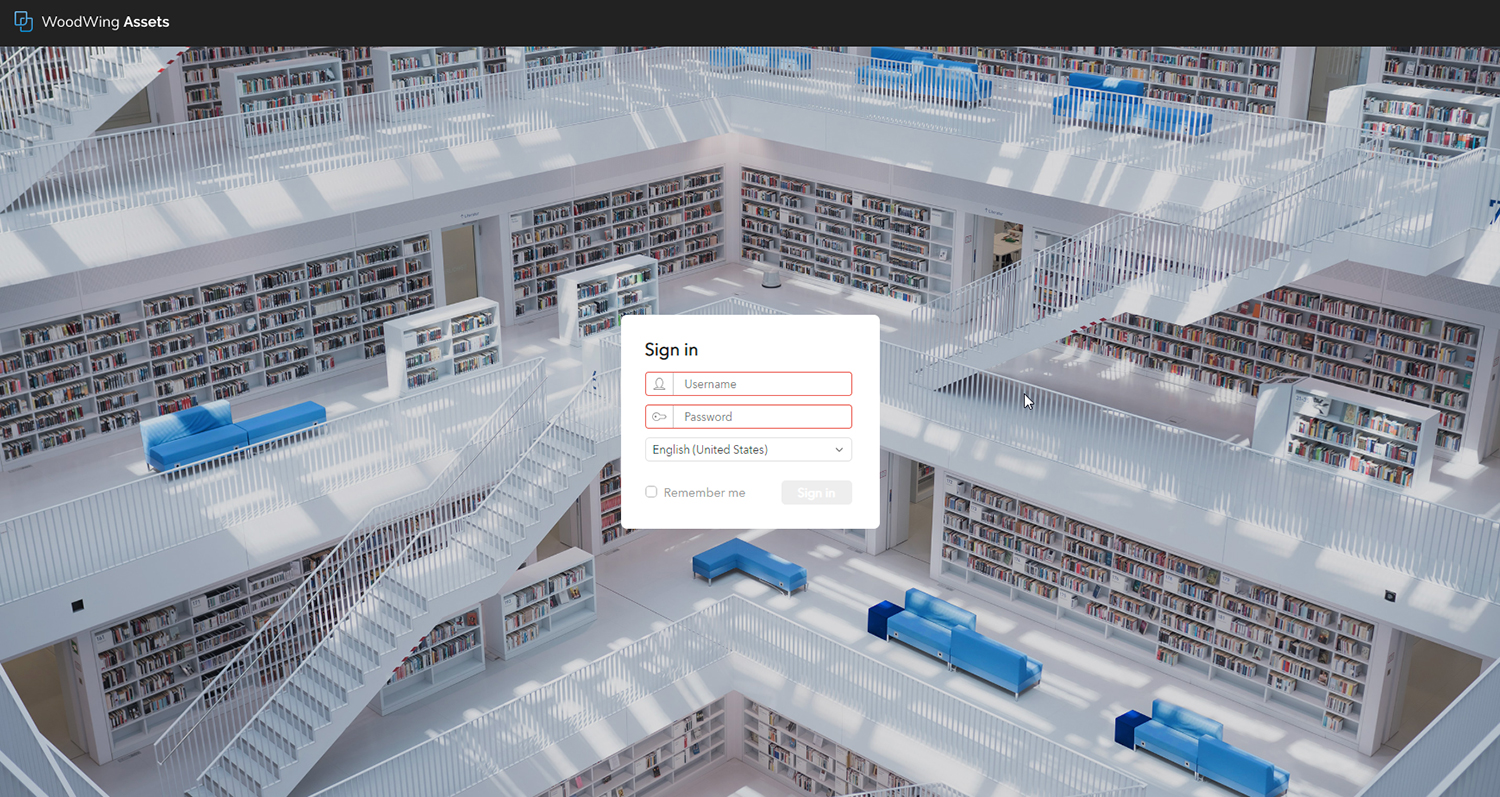
Figure: The default background image of the Sign In page.
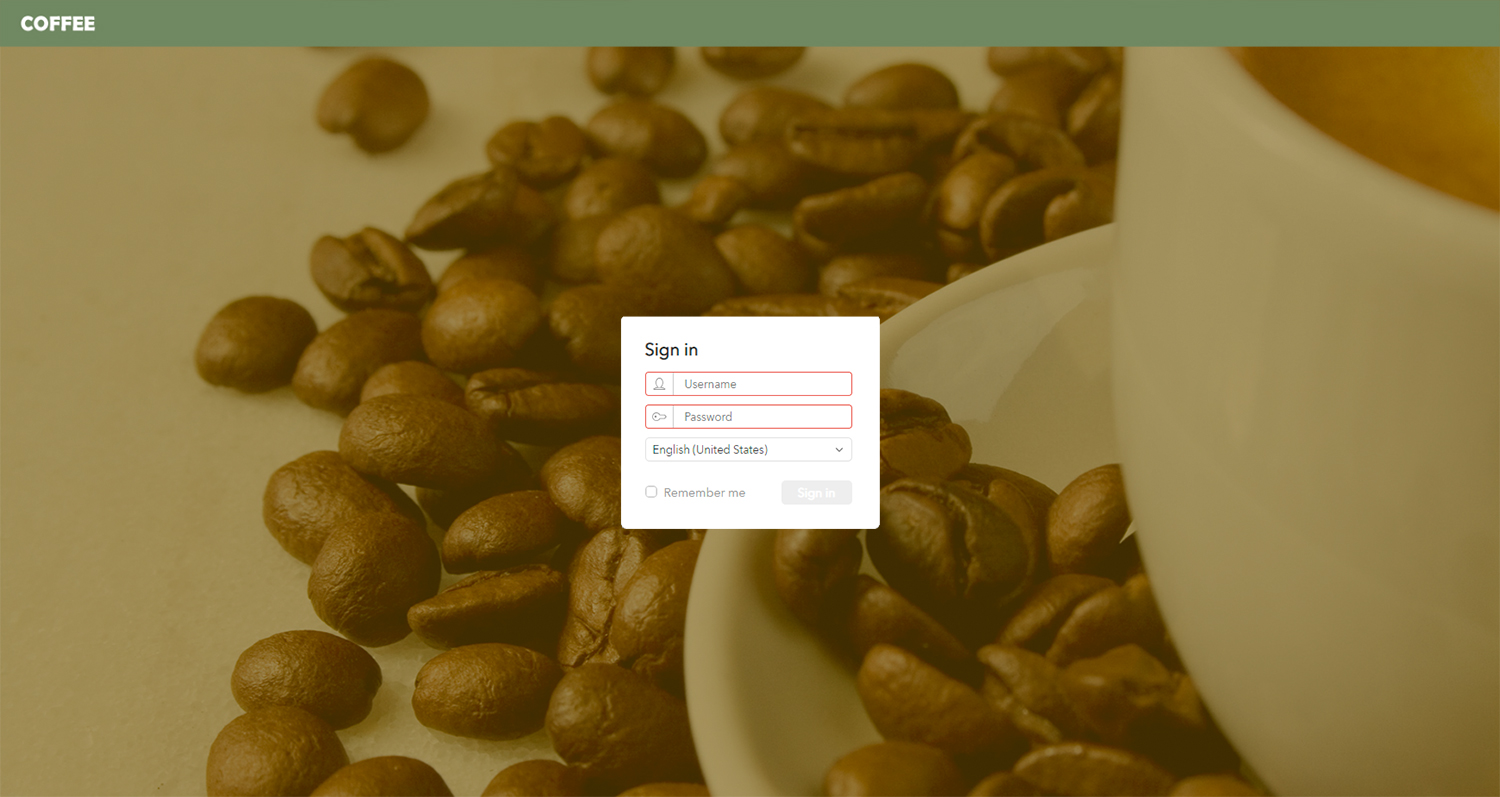
Figure: A custom background image on a customized Sign In page.
For more information, see Changing the look and feel of Assets.
Setting up download presets
By default, users can either download a preview of a file, download the original file, or they can create a custom download to download the file in a specific format, size, and resolution.
Note: This applies to downloading files in Assets itself as well as downloading files that are shared through Assets.
To improve efficiency, Download Presets containing often used download settings can be made available to user groups and users of shared files. This way the users do not have to go through the process of creating a Custom Download each time themselves.
Each assigned Download Preset appears in the Download menu for that user.
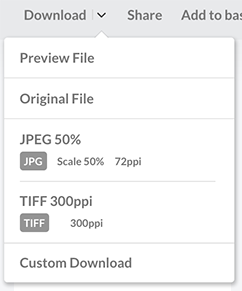
Figure: Download Presets make it easy for users to quickly download files in a specific format, size and resolution.
Setting up Download presets is done in the Management Console. For more information, see Managing Download Presets in Assets Server.
Controlling when uploaded files should be available
By default, files that are manually uploaded are immediately available to other users when:
- File data is uploaded and metadata has been extracted
- The metadata is complete*
* Only when metadata is required to be added to one or more fields; this is controlled by the option requiredMetadataHandling=strict).
This means that even before the user who is uploading the files has clicked the Finish button (or the process automatically completes by means of the Auto Finish feature), files can already be available to other users to work on.
In some scenarios though, files need to be kept hidden from other users until the user who uploads them is absolutely sure that all files should actually be made part of the system and/or that the metadata is set correctly. This prevents other users from using incorrect files or files with incorrect data.
Controlling this is done through the hideFilesUntilUploadSessionComplete option.
Customizing the list for sorting files
When searching for files in Assets, the displayed files can be sorted by using the Sort list.

Figure: The Sort list in Assets.
This list contains default items to sort files on, but can also be customized to show specific items only. For more information, see Customizing the list for sorting files in Assets, the Brand portal, or Shared Links.
Configuring the maximum resolution of the image used when zooming in
When previewing an image, the default size of the preview is 1600x1600 pixels. When zooming in, this image is replaced by a higher resolution image with a maximum size of 7680x7680 pixels.
The maximum resolution of the image that is used when zooming in can be changed by configuring the following setting:
- File: cluster-config.properties.txt
- Option name: maxZoomedPreviewSize
- Value: Any positive numerical value.
- Requires Assets Server restart: no
Example: maxZoomedPreviewSize=10000
Configuring the default expiration date of shared files
When files are shared, they can be accessed for a limited period of time. The default time period is one month which can be manually changed when the link with which the assets are shared is created or edited.
The duration of the default time period can also be configured. For more information, see Configuring the default expiration date for Shared Links created in Assets.
Extending the functionality with plug-ins
The default functionality of Assets can be extended by using plug-ins. Each plug-in will add its own functionality and it depends on the type of plug-in and how it is set up how it can be used in Assets.
Some plug-ins will add automated functionality such as archiving files when they reach a particular status while other add functionality that can be manually triggered by clicking a button or a context menu command, or by using a panel.
For more information about using plug-ins in Assets, see Extending the Assets Server functionality with plug-ins.
Configuring the Shared Links and Share Request pages
Files can be shared with other people by creating a Share Link. In a similar way, contributors can be asked to upload files by creating a Share Request.
These pages can be configured by changing the following:
- The look and feel
- The metadata fields that appear in the Metadata panel.
- The options in the sorting list (Shared Links only).
For more information, see Configuring the Shared Links page and the Share Request page of Assets.
Comments
0 comments
Please sign in to leave a comment.