Info: Search Presets have been replaced by Bookmarks in Assets 6.79. See Sharing Bookmarks in Assets.
Working on files in Assets starts by searching for these files. Some files are searched for on a regular basis, such as those in a particular location, with a particular status, and so on.
The search criteria for finding these files can be made available by the system administrator in the form of a Search Preset.
These appear in a list in front of the Search box of Assets. This way, users can quickly access the assets by choosing the preset instead of having to enter or be aware of the search criteria themselves.
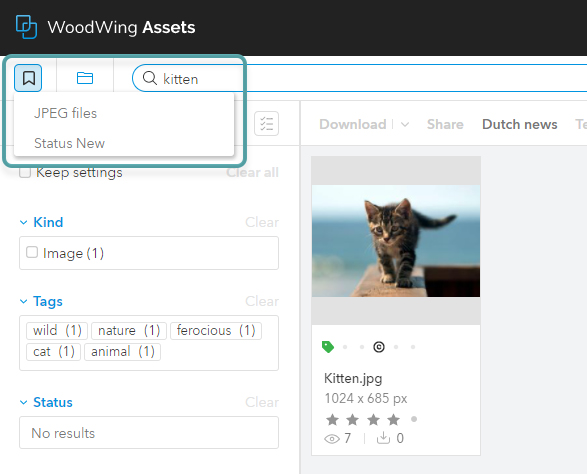
Figure: The Search Preset list in Assets 6.65 and higher.
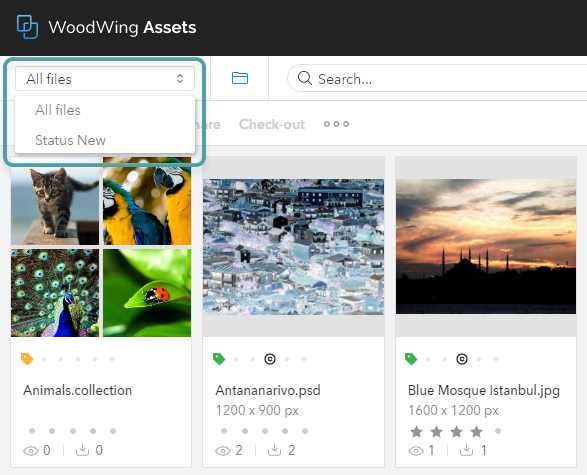
Figure: The Search Preset list in Assets 6.64 and lower.
This article explains how to manage Search Presets.
Requirements
- Managing Search Presets is done by using the Management Console and requires an account with admin credentials.
- Search Presets can only be assigned to user groups, not to individual users. Make sure therefore that user groups have been set up.
Managing Search Presets
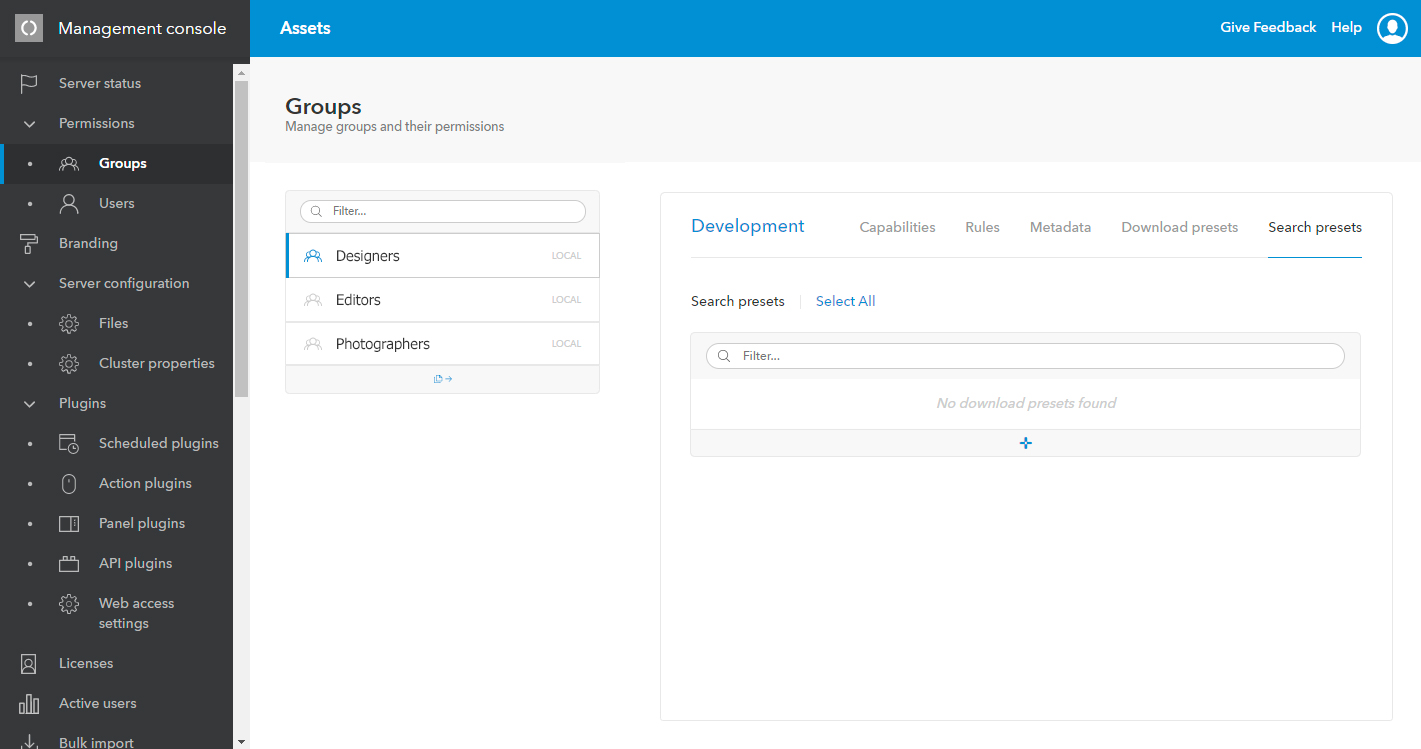
Managing Search Presets is done on the User Groups page in the Management Console.
Step 1. Access the Management Console and choose Permissions > User Groups.
The Manage User Groups appears.
Step 2. In the menu at the top, select Search Presets.
Creating a Search Preset
Step 1. Access the Search Presets page (see above).
Step 2. At the bottom of the lists of presets, click the + icon.
The Create Preset window appears.
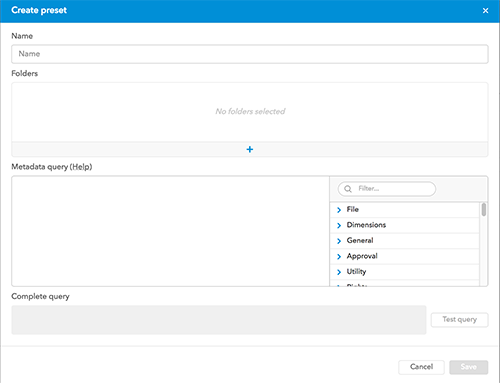
Step 3. Set up the Preset by entering a descriptive name and defining the search criteria by specifying a folder where the assets are located and/or by defining a metadata query.
|
Specifying a folder location Step 3a. Click the + sign. Step 3b. Browse to the folder that contains the assets that should be found and select it. Step 3c. Click Select. Step 3d. (Optional) Add additional folder locations. |
|
Setting up a query Enter your query in the Metadata query box. Tip: Quickly locate metadata fields to include by searching for them in the Fields overview list. Clicking a found field will automatically add it to the Query box. For information about constructing queries, see The Assets Server query syntax. Note: Using wildcard queries is not supported; these slow down searches too much and will affect every search done on the system.
|
Step 4. (Optional) Test your Rule by clicking Test query. The Pro client will open in a new tab and the search is run.
Step 5. Click Save.
The Search Preset is added to the list.
Assigning a Search Preset to a user group
Before a user can use a Search Preset, it needs to be assigned to a user group.
Assigning a Search Preset can be done manually or as part of copying Permissions from an existing user or user group.
Note: The system administrator who has created the Search Preset always has access to it, regardless of the groups that the Search Preset has been assigned to.
Assigning a Search Preset manually
Step 1. Access the Search Presets page (see above).
Step 2. From the list of user groups, select the user group to which the Search Preset needs to be assigned.
Tip: Use the Filter to narrow down the results in the list by typing any part of a name.
Step 3. From the list of presets, select the Search Preset that needs to be assigned to the group.
|
Tips:
|
Copying Permissions
Copying Permissions is an efficient way of quickly assigning an existing set of Permissions to a user group.
Warning: When copying, all existing Permissions for that user group will be replaced.
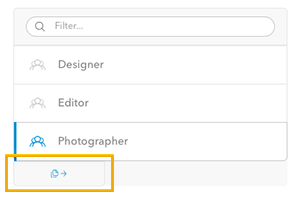
Step 1. From the list of user groups, choose the user group from which you want to copy the assigned Permissions.
Step 2. At the bottom of the list, click the Copy button.
The 'Copy Permissions To' window appears.
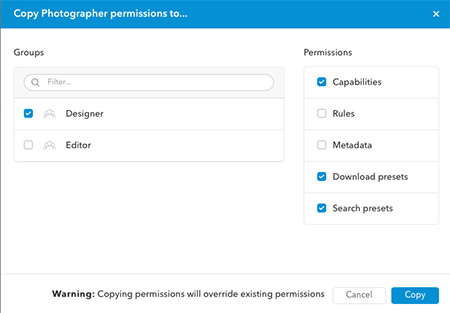
Step 3. From the list of user groups, choose the user group to which you want to copy the Permissions.
Step 4. In the list of Permissions, select which type of Permissions should be copied.
Step 5. Click Copy.
The Permissions are copied.
Editing a Search Preset
Step 1. Access the Search Presets page (see above).
Step 2. Click the Edit icon for the preset that you want to edit.
The Edit Preset window appears.
Step 3. Make any changes and click Save when finished.
Deleting a Search Preset
Step 1. Access the Search Presets page (see above).
Step 2. Click the Edit icon for the preset that you want to edit.
The Edit Preset window appears.
Step 3. Click Delete Preset in the lower left corner and confirm that you want to delete the Search Preset.
Comments
0 comments
Please sign in to leave a comment.