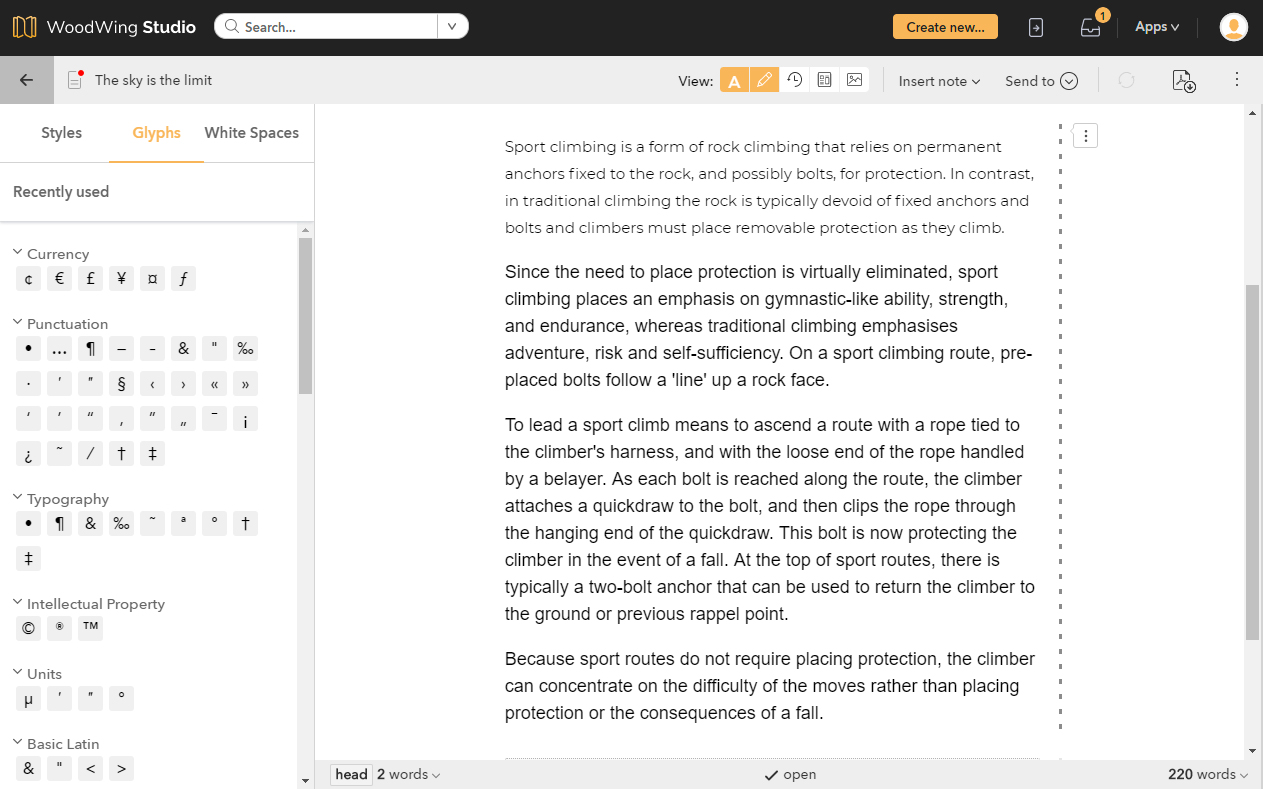
When editing a Print article, the Glyphs panel can be used for adding glyphs to the text.

The panel contains a default set of glyphs. This set can be customized by configuring the following:
- The name of a group
- The order of the groups
- The glyphs in a group
- The order of the glyphs
- The name of a glyph
- The keyboard shortcut for the glyph
Configuration
Configuration is done by modifying a Studio configuration file. This can be done in the following ways:
- By deploying the changes in a custom configuration file and loading it via a custom plug-in.
- By directly editing the configuration file on the server.
Configuration by deploying a custom configuration file
In this method, a custom configuration file containing the changes is deployed and loaded into the Print editor via a custom plug-in.
For details about how to do this, see the instructions on Github.
Configuring the file on the server
In this method, the file is configured directly on the server.
Note: If you do not have access to the file (because of the way your system is hosted or because of access rights), configure the file via the Management Console as described above.
Modify the following file:
Content Station folder > config-glyphs.js
Information about how to configure the file can be found in the following locations:
- For the file in general:
Content Station folder > sdk > print-editor-glyphs-sdk.md
Keyboard shortcuts
To make the process of adding glyphs more efficient, a keyboard shortcut can be added to each glyph.
For more information, see Configuring keyboard shortcuts for the Print editor of Studio.
Comment
Do you have corrections or additional information about this article? Leave a comment! Do you have a question about what is described in this article? Please contact Support.
0 comments
Please sign in to leave a comment.