When working on a file in Studio that is not needed anymore, it can be moved to the Trash Can. From there, it can either be permanently deleted or it can be restored to its original location.
This article describes how to delete and restore deleted files in Studio.
Note: For information about restoring a version of a file, see Viewing and restoring file versions using Studio.
Requirements
Using this feature requires the following permissions to be set in your Access Profile:
- For moving files to the Trash Can:
- File access > Delete
- For permanently deleting files:
- File access > Delete permanently
Moving files to the Trash Can
Step 1. Select one or more files anywhere in Studio, and do one of the following:
- Right-click a file and choose Move to Trash Can from the context menu.
A message appears asking to confirm the action:
Are you sure you want to move the selected files to the Trash Can?

Step 2. Click Yes, move files.
Managing deleted files
When a file is moved to the Trash Can, it is not yet deleted but is still present in the system. Files in the Trash Can can either be permanently deleted or restored to their original location.
Accessing the Trash Can
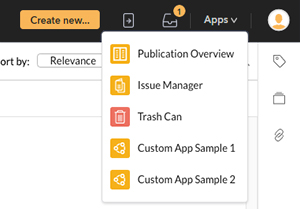
From the Apps menu in the top-right of the page, choose Trash Can.

Figure: The Apps menu.

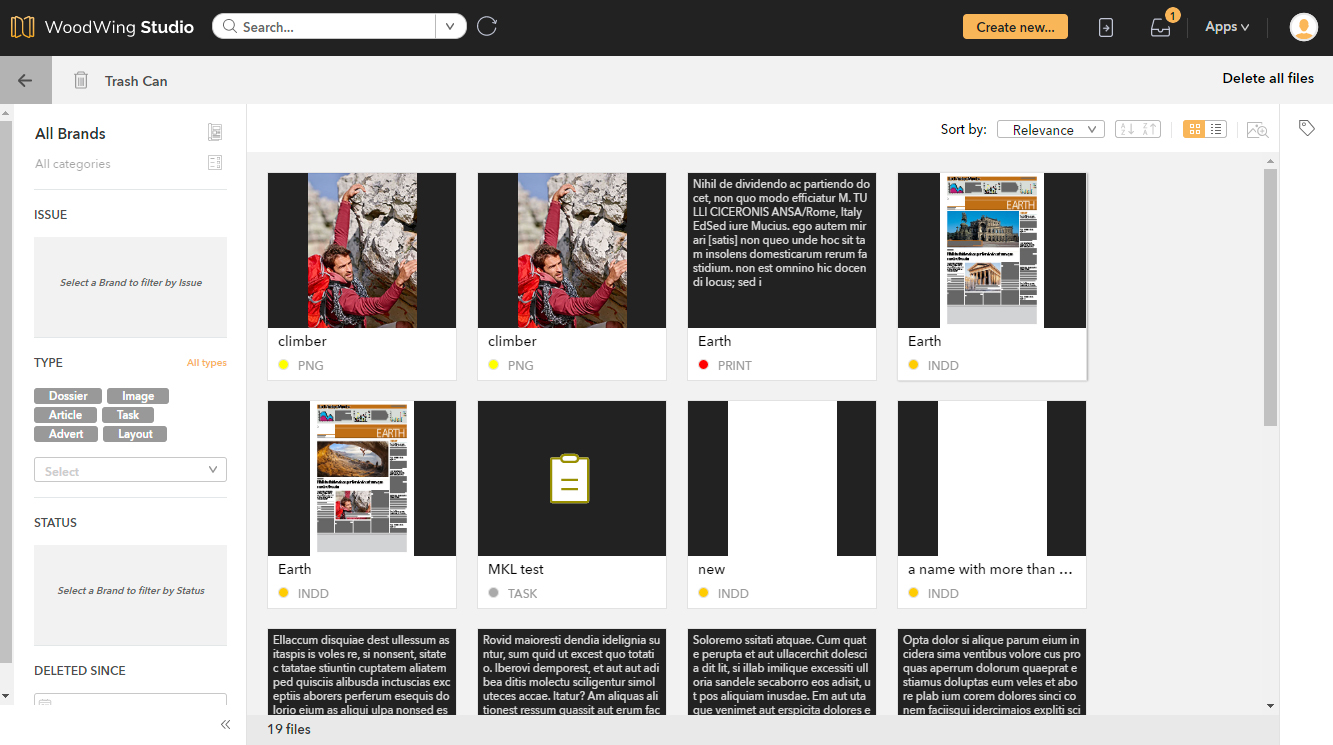
Figure: The Trash Can.
Filtering files
By default, all files in the Trash Can are shown. Use the Filter on the left side of the page to only show files that belong to a certain Brand or Issue, are of a certain type, have been deleted on a certain date, and so on.
Permanently deleting files
Do one of the following:
- To delete all files in the Trash Can in one action, click Delete all files in the top right corner of the page.
Note: This will delete ALL files, not only the files that are currently shown (in case the Filter is used)
- Select one or more files, right-click a file and choose Delete permanently.
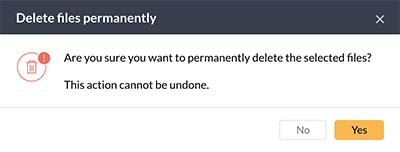
A message appears asking to confirm the action:
Are you sure you want to permanently delete the selected files?
This action cannot be undone.

Step 4. Click Yes.
Restoring deleted files
To restore a file from the Trash Can to its original location, select one or more files, right-click a file and choose Restore.
The files are automatically restored and shown in a new Browser tab. This makes it possible to quickly start working on the file without having to search for it in the system.
Comment
Do you have corrections or additional information about this article? Leave a comment! Do you have a question about what is described in this article? Please contact Support.
0 comments
Please sign in to leave a comment.