Info: Performing some of the steps described in this article requires direct server access. Depending upon how your system is hosted and the level of access you have to that system, coordination may be required with your Partner or WoodWing Support team. For a full overview of the steps that need to be done by WoodWing and how to request them, see WoodWing Cloud - Change management.
Assets Server can be tightly integrated with Studio Server to use Assets Server as a storage location for files that are used in the Studio Server workflow.
Note: For information about how this integration works, see Integrating Studio Server with Assets Server.
This article describes the installation and configuration steps for integrating Assets Server with Studio Server.
Integration
The integration process consists of the following steps:
- Installation
- Setting up a trusted connection between Studio Server and Assets Server
- Setting up the default user
- Setting up data synchronization from Assets Server to Studio Server
- Defining how files are stored in Assets Server and Studio Server
- Controlling the deletion of files used in Studio Server
- Granting users of Assets access to the 'Used In' panel
- Activating the WoodWing Assets Content Source plug-in in Studio Server
- Configuring Studio Server
- Testing the integration
|
Info: Use the filter to only show information for one step. |
1. Installation
The integration is done through plug-ins.
Studio Server
Connecting Assets Server with Studio Server is done through the WoodWing Assets Content Source plug-in for Studio Server. This plug-in is shipped as part of Studio Server. No installation steps are therefore required for Studio Server.
InDesign plug-ins
For InDesign, install the following:
- Assets for InDesign for connecting InDesign with Assets Server
- Studio for InDesign for connecting InDesign with Studio Server
2. Setting up a trusted connection between Studio Server to Assets Server
Step 1. In Assets, access the Management Console. by doing one of the following:
- Access the following URL and log in using system administrator credentials (a 'Super user' account):
<Assets Server URL>/console
- In Assets, access the Avatar menu and choose Management Console.
Step 2. In the menu on the left, choose Studio Servers.
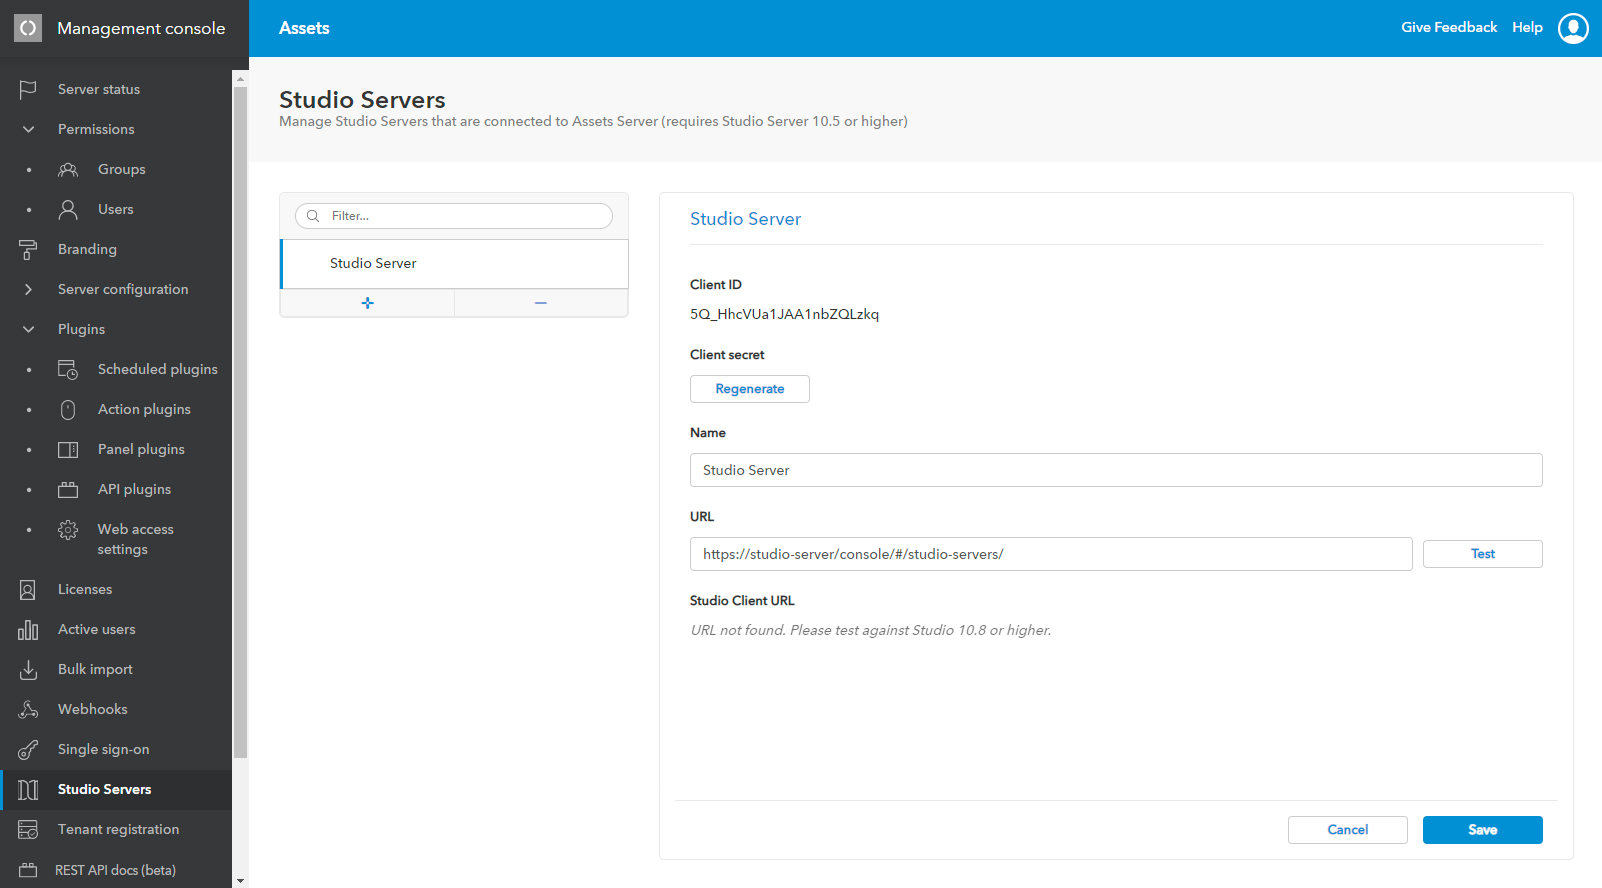
Step 3. Add the Studio Server instance to connect to.
Note: After entering the URL, Assets Server tries to connect to Studio Server. To prevent CORS related issues it may be required to add the Assets Server domain as an origin to the CROSS_ORIGIN_HEADERS setting in the configserver.php file of Studio Server.
When saving the settings for the server, a client ID and client secret is automatically generated and displayed.
Keep the page open, the client ID and secret are needed in the next steps.
Note: The client secret is only shown once, straight after adding the Studio Server instance. When next viewing the settings for that server, the client secret is hidden and needs to be regenerated. When the previously generated client secret was already used in the configuration file (see below), this needs to be updated.
Step 4. Open the configuration file of the WoodWing Assets Content Source plug-in in Studio Server in a text editor:
<Studio Server folder>/config/config_elvis.php (recommended: config_overrule.php file)
Step 5. Configure the following options:
Tip: Copy the ELVIS_CLIENT_ID and ELVIS_CLIENT_SECRET from the Studio Servers page in the Management Console (see above). Simply click the value once to copy it to the clipboard.
- ELVIS_URL
- ELVIS_CLIENT_ID
- ELVIS_CLIENT_SECRET
Step 6. Save the file.
3. Setting up the default user
When a user of Studio Server makes a change to an asset (such as updating its metadata, opening it in an external editor, or deleting it), the user who made these changes needs to be communicated to the users of Assets Server.
When the acting Studio Server user is known to Assets Server, the name of that user will be used as the actor who applied the changes to the files stored in Assets Server.
When the user is unknown to Assets Server, a default user is taken instead. This default user must be defined.
Step 1. Open the configuration file of the WoodWing Assets Content Source plug-in in Studio Server in a text editor:
<Studio Server folder>/config/config_elvis.php (recommended: config_overrule.php file)
Step 2. Configure the option ELVIS_DEFAULT_USER.
Example: define( 'ELVIS_DEFAULT_USER', 'admin' );
Step 3. Save the file.
4. Setting up data synchronization from Assets Server to Studio Server
Whenever a file stored in Assets Server is updated (such as updating its metadata, opening it in an external editor, or deleting it), Studio Server users need to be made aware of this.
This communication is provided through a script named sync.php that runs on Studio Server using cURL. It is a long-polling PHP script which periodically checks the Assets Server for asset updates.
Once a file update is received it is applied directly to the corresponding Studio Server shadow object.
Note: This script can be run simultaneously on multiple application servers. This is because the script is semaphore protected: only one sync.php file is executed to perform the synchronization even when many are installed and called.
Setting up cURL
The script is executed on Studio Server by using cURL.
Installation is done as follows:
- For Linux: cURL is pre-installed on these systems, no installation steps are necessary.
- For Windows: download it from the cURL download site and install it.
Setting up the schedule for the script to run
The script runs for a maximum amount of time and needs to be scheduled to always run.
The following parameters are used:
- maxexectime. The maximum amount of time that the script runs in seconds. The value should be between 60 and 600 seconds (1 and 10 minutes) and should match the schedule interval. Default value is 600.
- maxtimeoutperrun. The maximum timeout in seconds for each update call to the Assets Server. It should not be higher than the 'maxexectime' value. Default value is 15 (it should be between 5 and 20).
The scheduling can be done by using Cron (Linux / MacOS) or the Task Scheduler (Windows).
Example configurationConsider an example configuration with the following settings:
|
Setting up an admin user
An admin user is required for the data synchronization between Assets Server and Studio Server. During production, this is done by Crontab or Scheduler which continuously runs the sync.php module. For each run, this module logs in to Studio Server using the configured admin user.
Note: In this process, the default user (ELVIS_DEFAULT_USER) is used to retrieve data from Assets Server, while the admin user (ELVIS_ENT_ADMIN_USER) is used to update data in Studio Server.
Step 1. Open the configuration file of the WoodWing Assets Content Source plug-in in Studio Server in a text editor:
<Studio Server folder>/config/config_elvis.php (recommended: config_overrule.php file)
Step 2. Define the options ELVIS_ENT_ADMIN_USER and ELVIS_ENT_ADMIN_PASS.
|
Example: define( 'ELVIS_ENT_ADMIN_USER', 'woodwing' ); define( 'ELVIS_ENT_ADMIN_PASS', 'ww' ); |
Step 3. Save the file.
5. Defining how files are stored in Assets Server and Studio Server
Files that are added from Studio Server to Assets Server or to Assets Server from Studio Server can be stored in various ways, as shown in the following diagram:

- A copy of the original file in Assets Server is added to Studio Server. It is not linked to the file in Assets Server.
- A copy is made of the original file in Assets Server and stored in the Production Zone. A Production shadow object is added to Studio Server. It is linked to the file in the Production Zone.
- A file added to Studio Server is stored in the Production Zone in Assets Server. A Production shadow object is added to Studio Server. It is linked to the file in the Production Zone.
How to configure this aspect of the integration depends on which methods you want to use.
For a detailed explanation, see Controlling how files are stored in the Assets Server - Studio Server integration.
6. Controlling the deletion of files used in Studio Server
Info: This feature requires Assets Server 6.79 or higher.
In Assets Server 6.79 or higher, files that are stored in Assets Server and used in Studio Server (the so-called 'shadow objects', see 'Defining how files are stored in Assets Server and Studio Server' above) are by default prevented from being deleted from Assets Server.
For such files, the Delete option in Assets is not available.
This is done to avoid that the link between the two files is broken, which could result in issues where it was not possible to work with the file in Studio Server anymore.
|
Note: Files that are stored in Assets Server and used in Studio Server have the sceUsed flag and the sceSystemId set in the metadata (see also Verifying if a file stored in Assets Server is used in the Studio Server workflow). ‘Master’ files that were the original uploaded files have the sceUsed flag set when a copy is stored in Studio; they do not have a sceSystemId set. |
If needed, this functionality can be changed through the following option in the cluster-config.properties.txt file of Assets Server:
sceAllowDelete
Possible values:
- false. Files with the sceUsed flag set cannot be deleted.
- master. Files used in Studio Server cannot be deleted, but the original uploaded file can be removed, even when one of the copies is used in Studio Server.
- true. Files used in Studio Server can be deleted.
Example: sceAllowDelete=false
7. Granting users of Assets access to the 'Used In' panel
The Used In panel in Assets shows where in Studio Server an asset is used, for example on which layouts it is placed.
To see and use the panel, users need to be granted access. Do this by enabling the Permission named 'Used In' for a user or user group.
For more information, see Controlling user access to folders and assets in Elvis 6.
8. Activating the WoodWing Assets Content Source plug-in in Studio Server
The installed WoodWing Assets Content Source plug-in needs to be activated in Studio Server.
Step 1. In Studio Server, click Server Plug-ins in the Maintenance menu or on the Home page.
The plug-is listed with the name 'WoodWing Assets Content Source'. It is deactivated by default.
Step 2. Click its icon to activate it. The icon should change from red to green.

Figure: The plug-in activated on the Server Plug-ins page.
9. Configuring Studio Server
In Elvis 6.43, the creatorName field was changed to a multi-value field. This affects the field mapping to the Author property in the config_elvis.php file of Studio Server.
$cfgFieldHandlers['Author'] = new Elvis_FieldHandlers_ReadWrite( "creatorName", true, "text", "Author" );Depending on the version of Elvis Server and/or Studio Server used, the true or false value of the Author property may need to be adjusted.
| Version | Action |
|---|---|
| Elvis Server 6.42 or lower in combination with Studio Server 10.10 or higher | Change true to false. |
| Elvis Server 6.43 or higher or any version of Assets Server in combination with Studio Server 10.10 or higher |
No change needed. |
Overruling the default settings for the Author property should be done in the config_overrule.php file.
Steps: If changes are needed, see 'Standard metadata fields' in Metadata mapping between Studio Server and Assets Server for configuring the 'creatorName' mapping in your config_overrule.php file with the help of the Elvis_Config_GetAdditionalFieldHandlers function.
10. Testing the integration
Step 1. In Studio Server, access the Health Check page:
Step 1a. In Studio Server, click Advanced in the Maintenance menu or on the Home page. A page with all advanced Maintenance features appears.
Step 1b. Click Health Check. The Health Check page appears.
Step 2. At the bottom of the page, click Clear All.
Step 3. Only select the WoodWing Assets Content Source test.
Step 4. Click Test.
The test is executed and the result is displayed next to the test. It should display “OK”.
Note: If the test fails, an error is displayed together with instructions for solving it. Follow the instructions and then run the test once more.
Step 5. Test the integration by for example dragging some files stored in Assets Server into InDesign onto a layout that is stored in Studio Server.
Comments
0 comments
Please sign in to leave a comment.