Info: Performing the steps described in this article requires direct server access. Depending upon how your system is hosted and the level of access you have to that system, coordination may be required with your Partner or WoodWing Support team. For a full overview of the steps that need to be done by WoodWing and how to request them, see WoodWing Cloud - Change management.
Logging in to Studio Server using single sign-on (SSO) via Amazon Cognito is one of the ways of logging in to Studio Server using SSO.
This article describes how to implement Cognito in Studio Server to act as the identity provider.
Before you start
Before you start, make sure that:
- You have an active Amazon AWS account.
- The Studio Server environment in which Cognito is implemented has a fully working Studio Server and fully working client applications.
- When making use of LDAP, disable it.
|
Notes about setting up users and user groups in Studio Server:
|
Implementation
The implementation consists of the following steps:
- Setting up Cognito
- Configuring Studio Server
- Setting up client applications
- Testing the implementation
|
Info: Use the filter to only show information for one step. |
1. Setting up Cognito
This involves the following steps:
- Creating a user pool and app client
- Modifying the app client settings
- Setting up groups
1. Creating a user pool
Step 1. On the AWS Management Console page, enter Cognito in the Find Services list and click the found result.

The Amazon Cognito page appears.
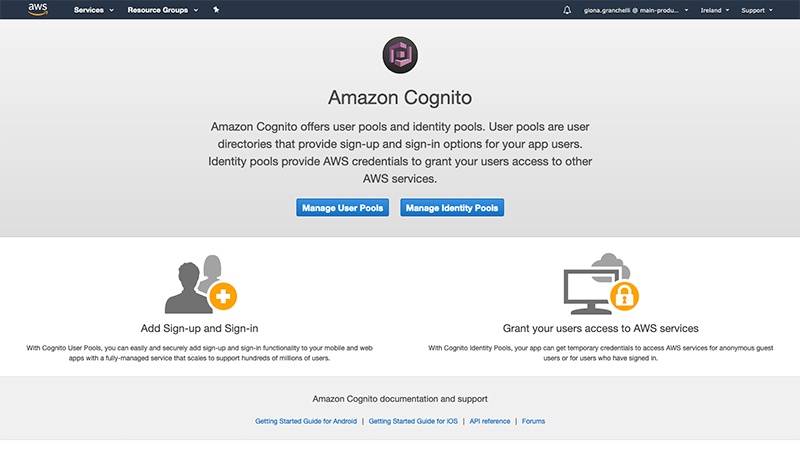
Step 2. Click Manage User Pools.
The User Pools page appears.
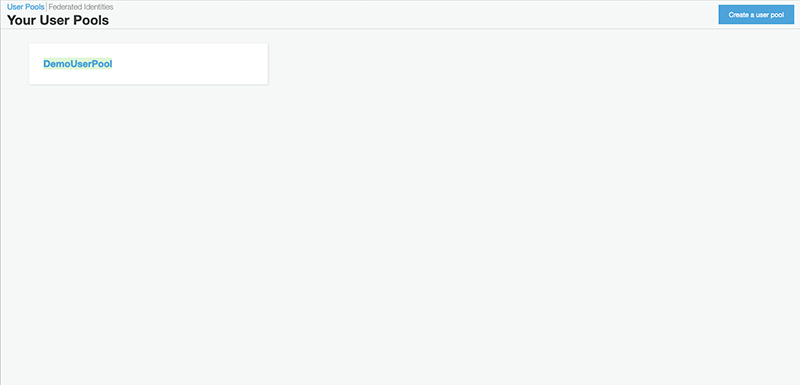
Step 3. In the top right corner, click Create a users pool.
Setting up a users pool involves various steps. Each step has its own page. Refer to the navigation menu on the left side of the page.
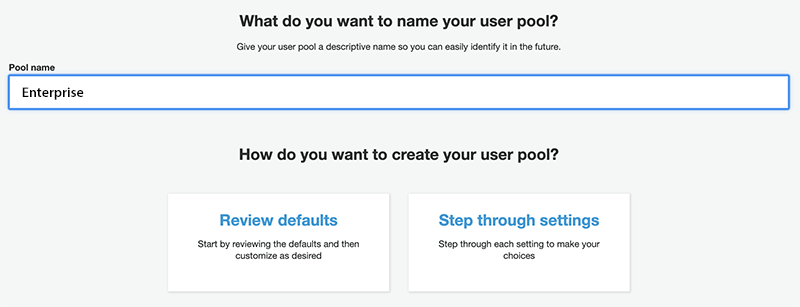
- Name. Enter a pool name and click Step through settings.
- Attributes. Use this page to set up how you want your end users to sign in. When done, click Next step.
|
Notes:
|
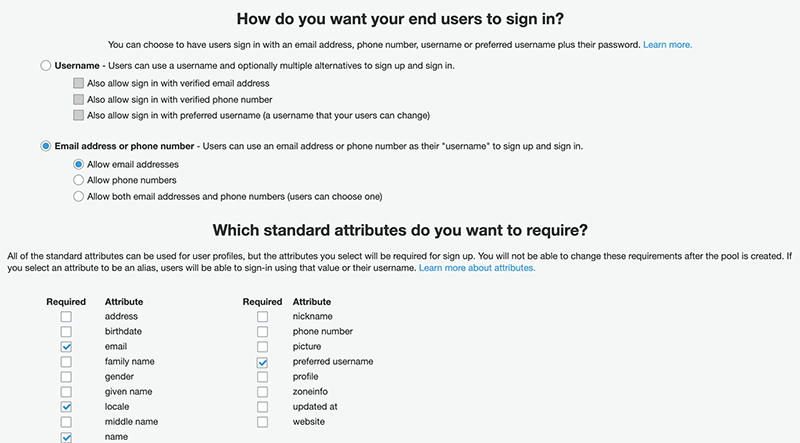
- Set up the following pages as required:
- Policies
- MFA and verifications
- Message customizations
- Tags
- Devices
- Triggers
For more information about these pages, see the Amazon documentation.
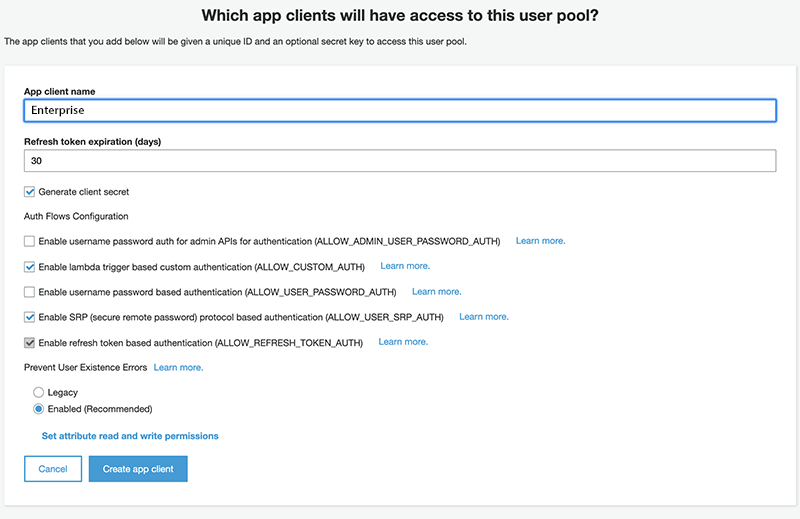
- App clients. Click Add an app client, add a name and set the other options to your needs. When done, click Create app client:
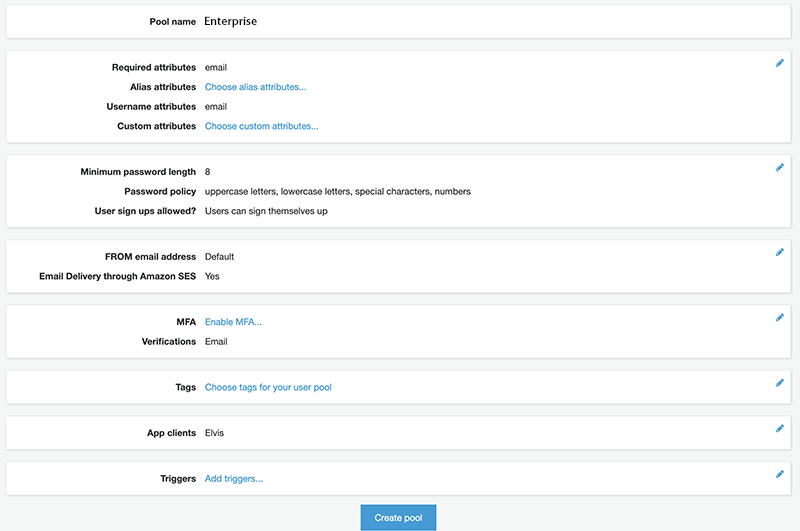
- Review. Review your settings and click Create pool.
2. Modifying the app client settings
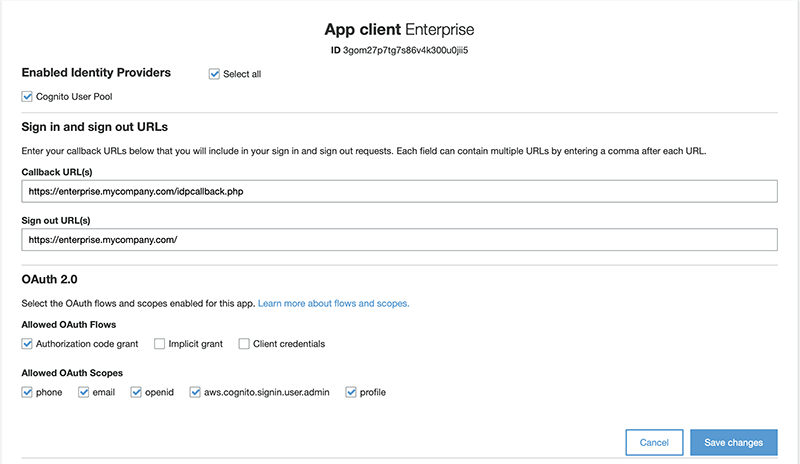
Step 1. In the menu under App integration, click App client settings and set up the page as outlined below. When done, click Save changes.
Note: All URLs need to be in HTTPS format; the only exception is localhost.
- Enabled Identity Providers. Select Cognito User Pool.
- Sign in and sign out URLs:
- Callback URL: This URL consists of 2 parts: the URL of Studio Server followed by /openid/callback
Example: https://studio-server.mycompany.com/idpcallback.php
- Sign out URL: The URL of your Studio Server.
Tip: Concatenate multiple URLs by separating them with a comma.
- OAuth 2.0:
- Allowed OAuth Flows: select Authorization code grant.
- Allowed OAuth Scopes: select all options:
- phone
- openid
- aws.cognito.signin.user.admin
- profile
Step 2. In the menu under App integration, click Domain name and follow the instructions on the page. When done, click Save changes.

3. Setting up groups
Step 1. Go to Users & groups, followed by Groups. Click Create group. Enter a name, leave the other fields to the default settings. When done, click Create group.
Note: Names of groups cannot contain spaces.

Step 2. Create as many groups as needed.
2. Configuring Studio Server
In Studio Server, a connection to the application in Cognito needs to be configured.
For this, information from Cognito is needed.
Step 1. In Cognito, do the following:
- Under General settings, click App clients followed by Show details. Note down the App client id and the App client secret.
Step 2. In Studio Server, add and configure the following settings in the config_overrule.php file:
define( 'OPENID_ISSUER_URL', '' );
define( 'OPENID_CLIENT_ID', '' );
define( 'OPENID_CLIENT_SECRET', '' );- OPENID_ISSUER_URL. The URL has a fixed format:
Format: https://cognito-idp.region.amazonaws.com/userPoolId
|
Example: URL for a user pool with ID 'u123456' in the us-east-1 region: https://cognito-idp.us-east-1.amazonaws.com/u123456 |
- OPENID_CLIENT_ID. The client ID as copied in step 1.
- OPENID_CLIENT_SECRET. The App client secret as copied in step 1.
3. Setting up client applications
Set up the client applications as follows:
- Studio
- License configuration. Studio is available in two types, each with their own license: Studio Print and Studio Multichannel. When logging in using SSO, Studio uses the first license type that is configured in the config.js file. When only one license type is used, make sure that it is listed at the top or listed as the only license. When both license types are used, set up 2 separate instances of Studio, each with their own config.js configuration.
- Studio for InDesign and InCopy
- No additional setup is required.
4. Testing the implementation
Test the implementation by logging in to Studio Server using the various applications:
- The Studio Server Maintenance pages
- Studio
- Studio for InDesign and InCopy
Test the scenario where the user is not yet logged in to Cognito and where the user is already logged in to Cognito. Follow the steps on screen.
Mapping SSO users with Studio Server user accounts
Mapping an Cognito user with the properties for a user in Studio Server is done through the 'OPENID_FIELD_MAPPING' setting in the config_overrule.php file.
The following Studio Server properties can be mapped:
- Name
- FullName
- EmailAddress
- Language
- TrackChangesColor
- Organization
- Location
|
Notes:
|
Comments
0 comments
Please sign in to leave a comment.