The files that are stored in Studio Server are normally worked on in the client applications Studio and Studio for InDesign and InCopy. While working on the file, it remains in the Studio Server workflow. This is beneficial because it makes sure that only one user at a time can work on the content, versions are kept in case a previous version of the file needs to be restored, the files can be tracked through the workflow by assigning a status, and so on.
In some instances though, the file needs to be taken out of the Studio Server workflow and worked on separately.
Example: Sending out PDF files or images to the customer for proofing requires a locally stored version of the file.
From Studio Server, the following types of files can be exported:
- PDF pages
- Articles
- Images
- Videos
- Audio files
Tip: Files can also be exported by using Studio by right-clicking a file and choosing 'Save Original...' or 'Save Preview...'.
Note: PDF or EPS files of each page of a layout are automatically stored by Studio for InDesign and InCopy when the layout is saved. See Page preview generation.
Step 1. In Studio Server, access the Export page by choosing Export in the Maintenance menu on the left side of the screen or on the Home page.

Step 2. Click the icon for the file type that you want to export.
An export page for that file type appears.
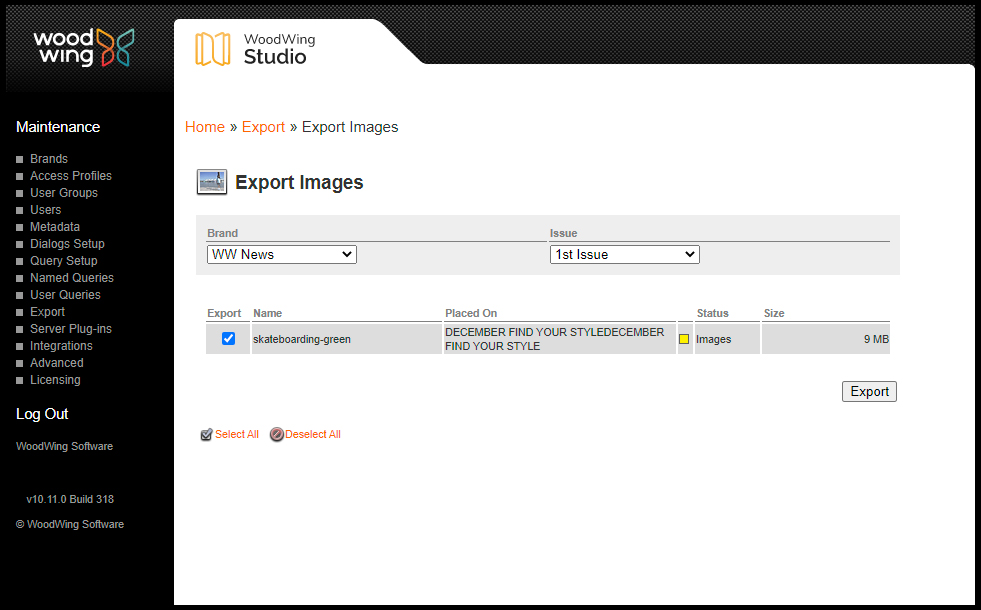
Figure: The export page for images.
Step 3. From the Brand and Issue lists, choose the location in which the files that need to be exported are stored.
Step 4. Use the check box in front of each file to control if it should be included in the export or not.
Tip: Click a file to see more information about it.
Step 5. Click Export and confirm that you want to export the files.
Information is shown on the page about which files have been successfully exported and in which location they are saved.
Troubleshooting
An error appears when exporting a file
One of the following errors can appear:
HTTP error 413
Unsupported encoding, use one of ISO-8859-1, US-ASCII, UTF-8
This typically means that some maximum value has been exceeded such as the maximum upload size. Verify the PHP installation steps.
The exported files have 'garbled' file names
Info: Performing the described step requires direct server access. Depending upon how your system is hosted and the level of access you have to that system, coordination may be required with your Partner or WoodWing Support team. For a full overview of the steps that need to be done by WoodWing and how to request them, see WoodWing Cloud - Change management.
When encountering this issue when using either Chinese, Russian, Korean, or Japanese, set the correct file name encoding for the used language.
Note: Be careful with changing this option. When used in a live production environment, “garbled” file names will not be shown anymore; enable this setting therefore only when setting up a new production environment.
Step 1. Open the config.php file (recommended: config_overrule.php file) of Studio Server.
Step 2. Locate the Filename Encoding section.
// define ('FILENAME_ENCODING', 'cp1251')
Step 3. Enable the command by removing the forward slashes.
Step 4. Use one of the following encoding values:
- big5 Traditional Chinese
- cp1251 Russian
- euc-kr Korean
- gb2312 Simplified Chinese
- shift_jis Japanese
- ISO-8859-1 All European languages (Latin-1)
Step 5. Save the file.
Comments
0 comments
Please sign in to leave a comment.