Adding more users to the Swivle environment is done by inviting users. They are then sent an e-mail to have their account activated.
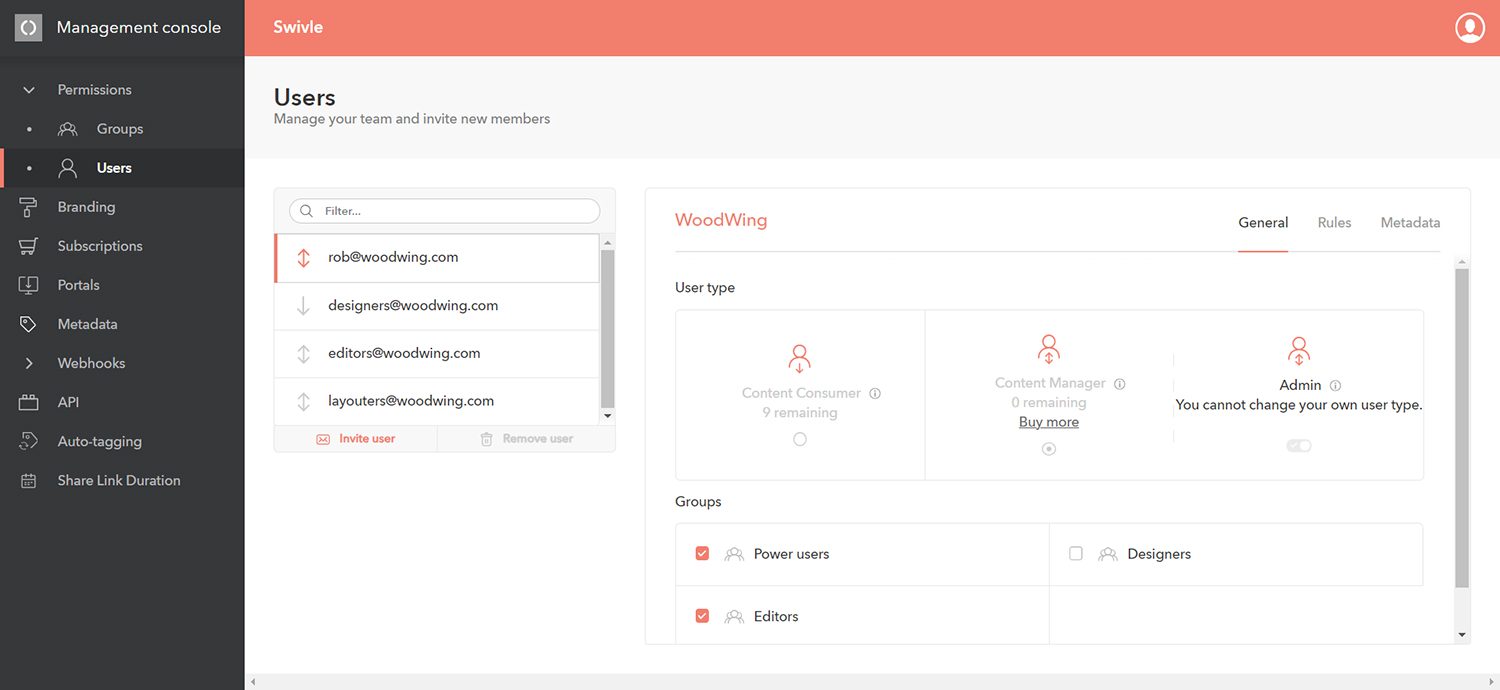
Inviting users is done on the Users page in the Management Console.
This article explains how this is done.

Inviting a user
Note: A user needs to be part of a user group. This defines the access that the user has to the files in Swivle. It is assumed here that the user group to which the user is to be added already exists. If not, create it first.
Step 1. In the Management Console, access the Users page by clicking Permissions > Users in the menu on the left.
Step 2. At the bottom of the list of users, click Invite user.
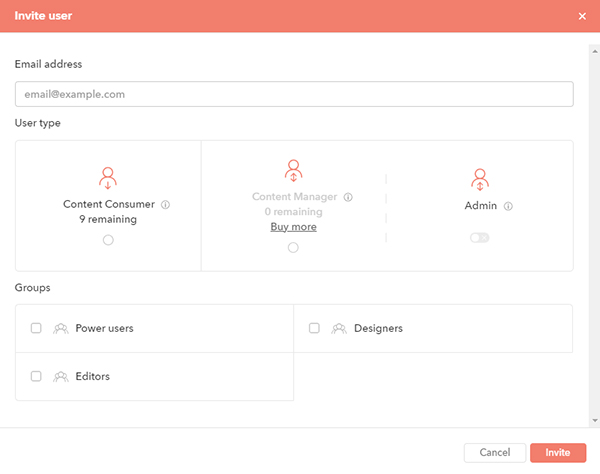
The Invite User dialog appears.

Step 3. Enter the e-mail address of the user you want to invite.
Step 4. Select the user type for the new user. For information about the difference between the user types, see Swivle licenses.
Note: During your trial you are free to invite as many users as you like. However, when the trial ends you are limited to the number of subscriptions that you have available.
Step 5. Add the user to one or more user groups. These define the access that the user has to the files.
Step 6. Click Invite to invite the user. The user will receive an e-mail with a link to activate their account.
Comment
Do you have corrections or additional information about this article? Leave a comment! Do you have a question about what is described in this article? Please contact Support.
0 comments
Please sign in to leave a comment.