The look and feel of the Brand portal can be changed to match the style of the brand that the Brand portal is used for, for example by matching it with the branding of a company, product or publication.
For example, the background image of the Sign In page can be changed to a custom image:

Figure: The default background image of the Sign In page.
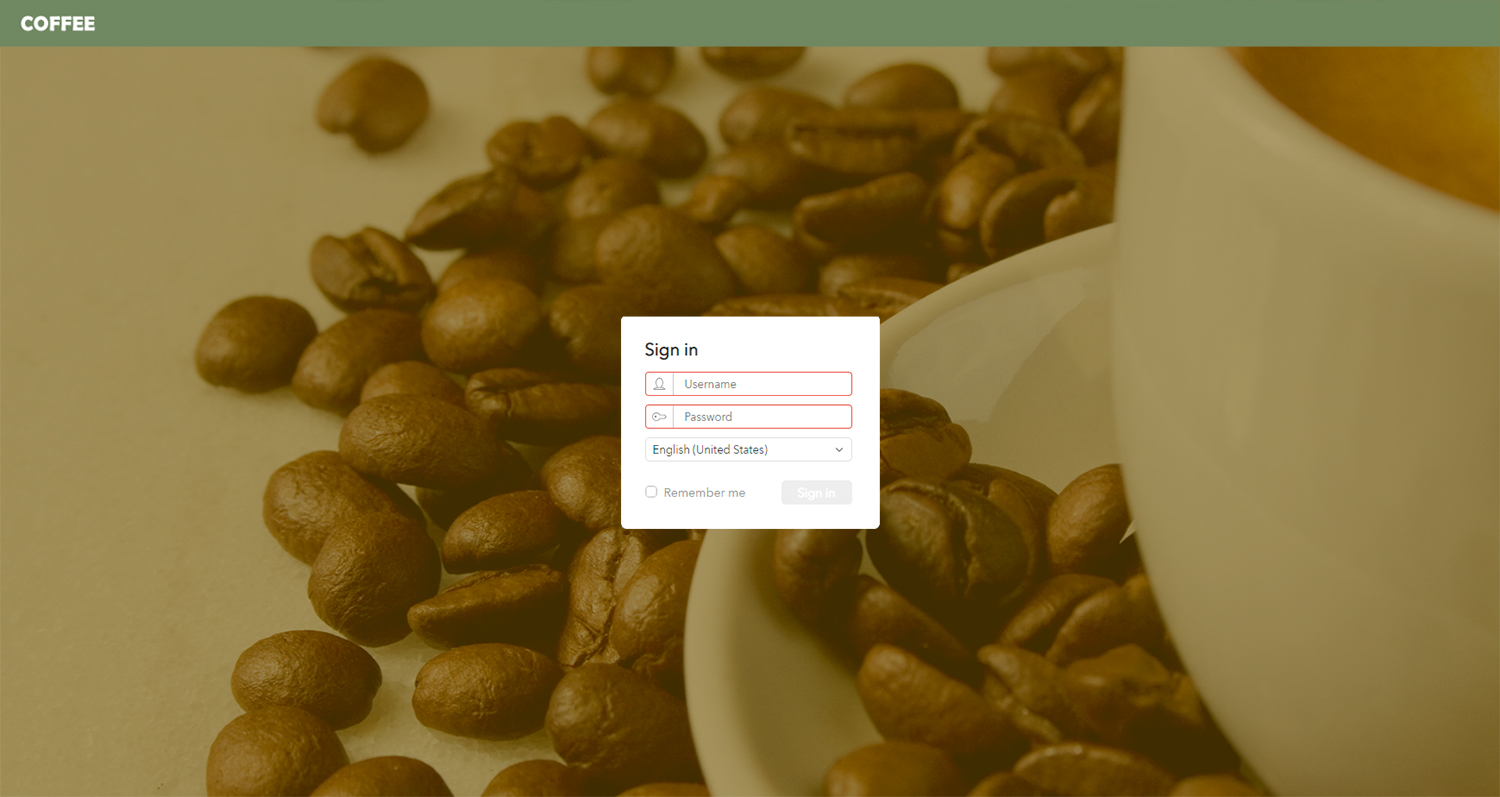
Figure: A custom background image on a customized Sign In page.
Or the logo and the colors of the interface can be changed to match your brand:
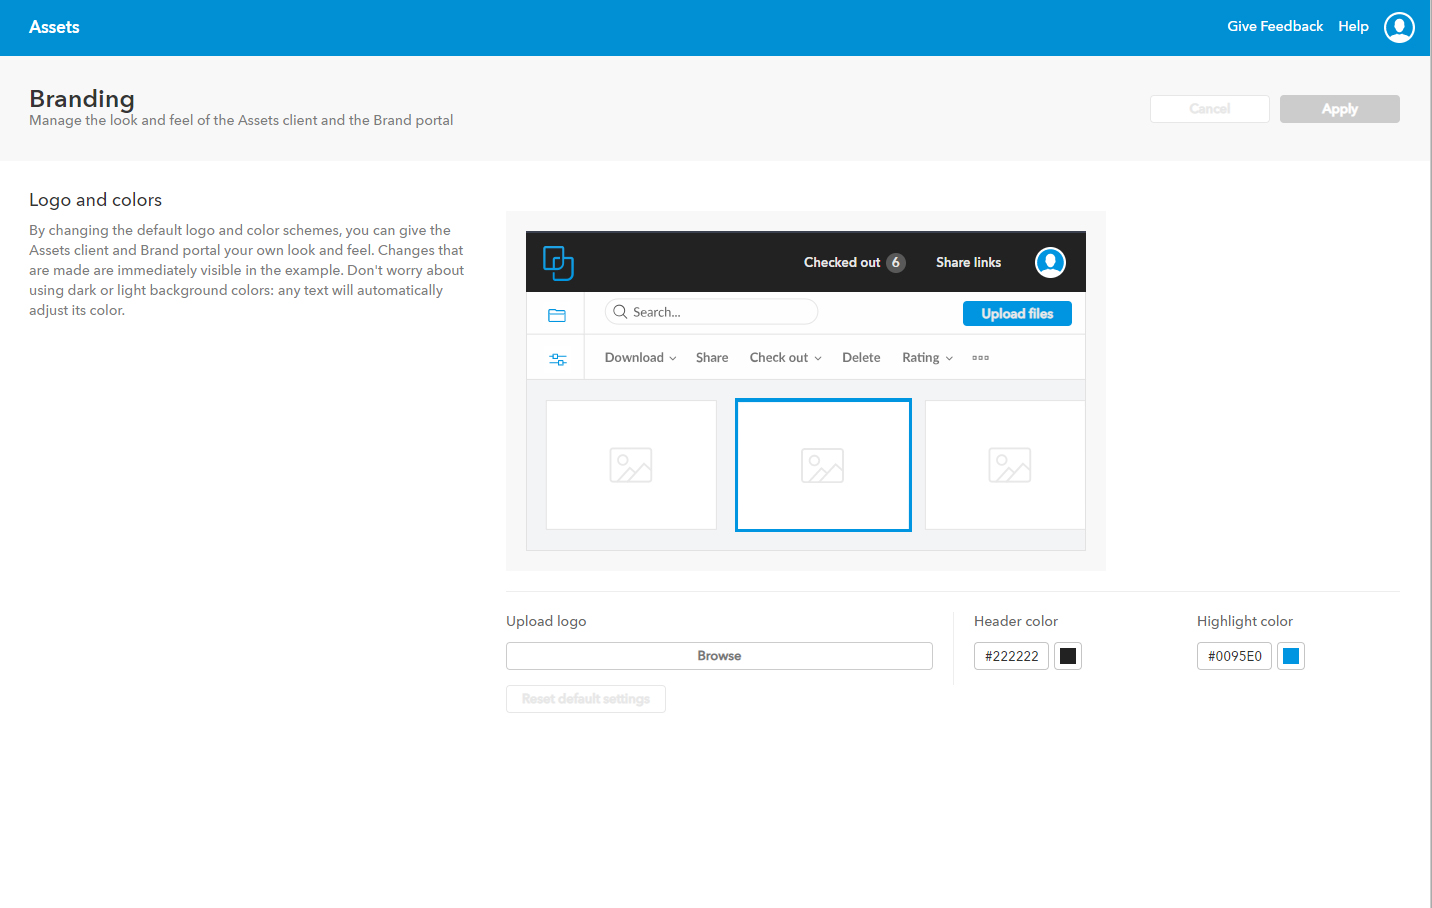
Figure: The default Branding settings.

Figure: Custom Branding settings.
The following can be adjusted:
- The application name shown in the Web browser tab
- The icon shown in the Web browser tab
- The background image of the Sign In page
- The logo in the header
- The color of the header
- The highlight color (used for buttons, selections and various other small page items)
- The background color for thumbnails and previews of transparent images
- The 'Feedback' and 'Help' links
|
Info: Use the filter to only show information for one topic: |
Changing the application name shown in the Web browser tab
Info: Performing the described step requires direct server access. Depending upon how your system is hosted and the level of access you have to that system, coordination may be required with your Partner or WoodWing Support team.
The Brand portal is run in a Web browser. By default, 'Assets' is shown in the tab.

This name can be changed to a custom name.
Note: This also affects the Web browser tab of Assets and of Shared links.
Step 1. Follow the steps for creating a custom language file. See 'Customizing languages' in Managing languages in Assets Server.
Step 2. Add the following key to the file, followed by the custom name:
webClient.general.application.name=My company name
Step 3. Save the file.
The changes are immediately available.
Changing the icon shown in the Web browser tab
Info: Performing the described step requires direct server access. Depending upon how your system is hosted and the level of access you have to that system, coordination may be required with your Partner or WoodWing Support team. For a full overview of the steps that need to be done by WoodWing and how to request them, see WoodWing Cloud - Change management.
An Assets icon is shown in various locations in a Web browser such as in tabs and for bookmarks. Such an icon is known as the 'favicon' of a Web browser.
Figure: The default favicon for the Brand portal.
The default icon can be changed to a custom icon by replacing the following image on Assets Server:
<Elvis config>/plugins/active/internal/elvis_client/logos/favicon.ico
|
Notes:
|
Changing the background image of the Sign In page
Info: Performing the described step requires direct server access. Depending upon how your system is hosted and the level of access you have to that system, coordination may be required with your Partner or WoodWing Support team.
The background image that is shown on the Sign In page can be replaced by a custom image.
The default image is stored in the following location:
<Elvis config>/plugins/active/internal/elvis_client/logos/background.jpg
Using a custom image
To use a custom image, replace the existing image by another image that is also named 'background.jpg'.
|
Notes:
|
Tip: To create a background with an even color, create an image containing a single pixel of a certain color.
Changing the logo and colors
Changing the logo and colors is done through the Management console.
Note: Any changes made apply to the Brand portal as well as Assets.
Step 1. Access the Management Console by clicking your Avatar and choosing Management Console from the menu.
![]()
Step 2. From the menu on the left of the page, chose Branding.
The Management Console appears.
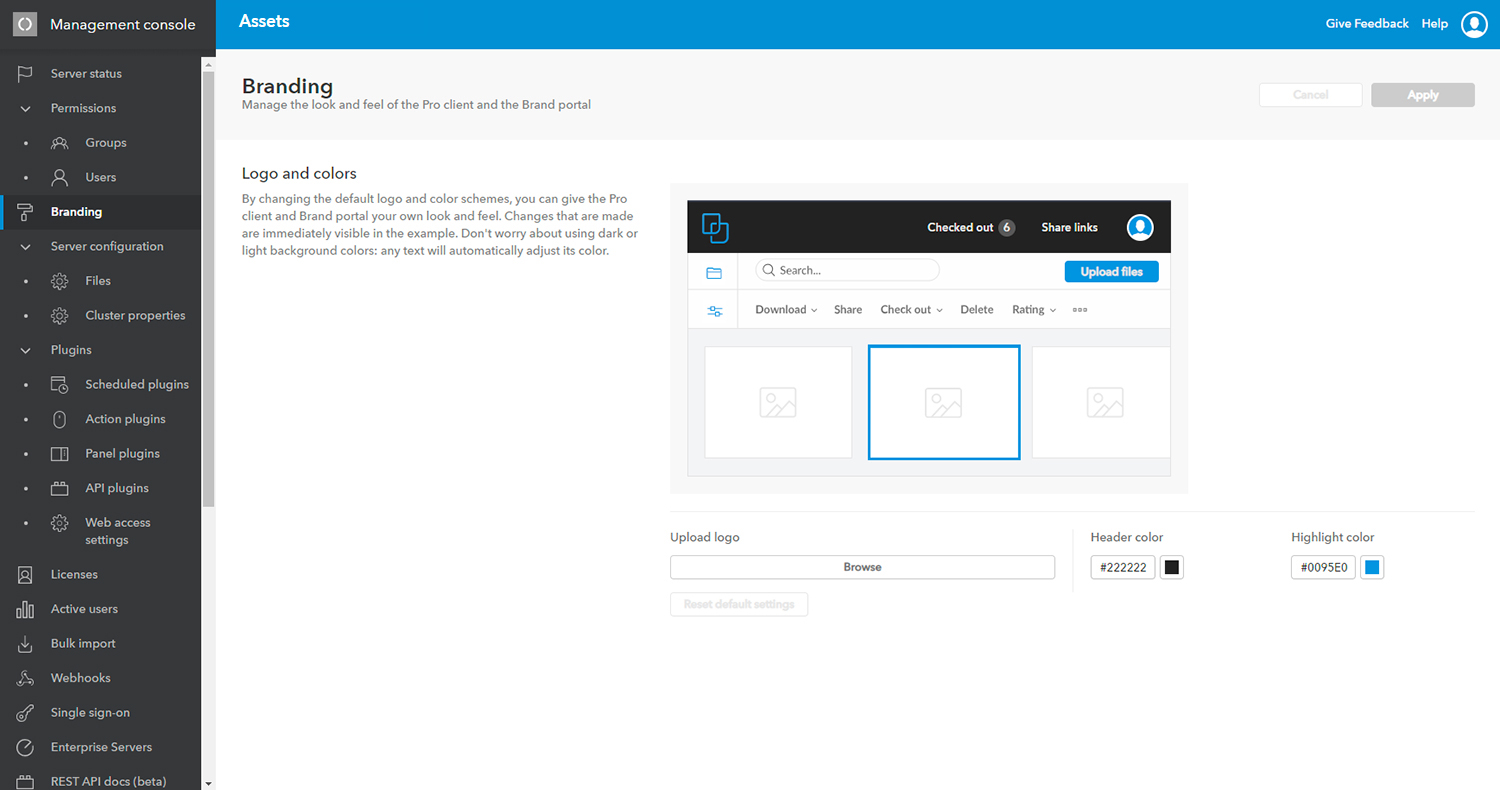
Step 3. From the menu on the left, choose Branding.
Step 4. Make your changes and click Apply.
Setting the background color for thumbnails and previews of transparent images
The default background color for thumbnails and previews of transparent images is white. If the subject of the image is also (mostly) white, this can make it hard to distinguish the subject from the background.
To improve this, a custom background color (such as light gray) can be set for all transparent images. This can be done by setting the following option:
- File: cluster-config.properties.txt
- Option name: defaultBackground
- Value: An RGB hex triplet
- Default value: #ffffff
- Requires Assets Server restart: yes
Example: defaultBackground=#ececec
Controlling the available metadata fields
When an image is viewed in fullscreen mode, a default list of metadata fields can be viewed by clicking the Info button in the top right corner.
Note: Permissions are required for a user to see metadata fields, see above.
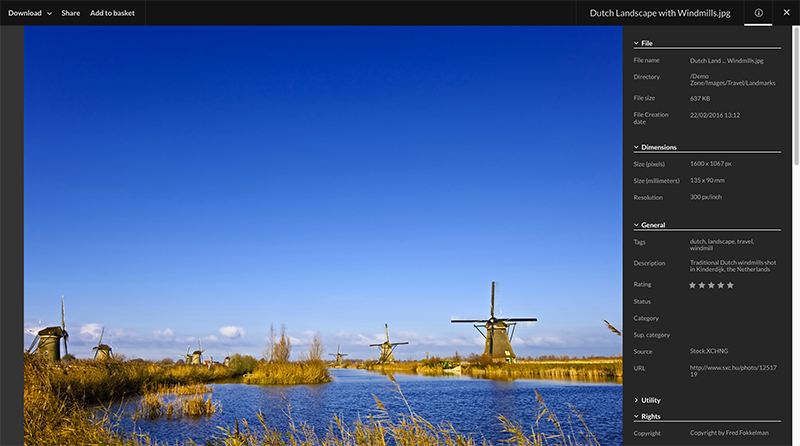
Figure: Viewing metadata for an image in fullscreen mode.
The default list of fields
In alphabetical order:
- adultContentWarning
- aggregationType
- album
- alterationConstraints
- artist
- assetDomain
- audioLength
- audioTitle
- beatsPerMinute
- bitDepth
- cameraManufacturer
- cameraModel
- caption
- captionWriter
- colorMode
- colorSpace
- compression
- copyright
- copyrightAgent
- copyrightOwner
- copyrightStatus
- creationCity
- creationCountryName
- creationSublocation
- creatorAddress
- creatorCity
- creatorCountry
- creatorEmail
- creatorName
- creatorPhone
- creatorPostalCode
- credit
- description
- dimension
- dimensionIn
- dimensionMm
- dimensionPt
- edition
- embargoDate
- exposureProgram
- exposureTime
- extension
- fileConstraints
- fileCreated
- fileModified
- filename
- fileSize
- fNumber
- focalLength
- folderPath
- generalCity
- generalCountryName
- generalSublocation
- genre
- instructions
- isbn
- issueIdentifier
- issueName
- minorModelAgeDisclosure
- modelReleaseStatus
- numberOfCharacters
- numberOfLines
- numberOfPages
- numberOfParagraphs
- orientation
- propertyReleaseStatus
- publicationChannel
- publicationDate
- publicationName
- rating
- resolution
- resolutionUnit
- scene
- section
- shotDate
- shotLocation
- shotName
- shownCity
- shownCountryName
- shownSublocation
- sizeConstraints
- status
- subject
- subjectCode
- tags
- termsAndConditions
- termsAndConditionsURL
- usageFee
- usageRights
- usageTerms
- videoLength
- volume
To add or remove fields, do the following:
Step 1. Access a cluster-config.properties.txt file for your Assets Server cluster.
Step 2. Locate the brandPortalMetadataPanelFields setting.
Step 3. Add or remove fields as required. Any field that is not listed will not be shown.
Note: When adding fields, reference their field names as listed in Metadata field information for Assets Server.
Setting up download presets
By default, users can either download a preview of a file, download the original file, or they can create a custom download to download the file in a specific format, size and resolution.
Note: This applies to downloading files in the Brand portal itself as well as downloading files that are shared through the Brand portal.
To improve efficiency, Download Presets containing often used download settings can be made available to user groups and users of shared files. This way the users do not have to go through the process of creating a Custom Download each time themselves.
Each assigned Download Preset appears in the Download menu for that user.
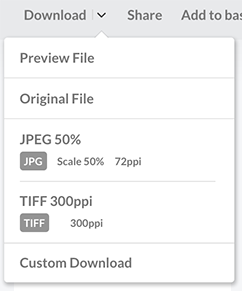
Figure: Download Presets make it easy for users to quickly download files in a specific format, size and resolution.
Setting up Download presets is done in the Management Console. For more information, see Managing Download Presets in Assets Server.
Customizing the list for sorting assets
When browsing the assets in the Brand portal, the displayed assets can be sorted by using the Sort list.

Figure: The Sort list in the Brand portal.
This list contains default items to sort the assets on, but can also be customized to show specific items only. For more information, see Customizing the list for sorting files in Assets, the Brand portal, or Shared Links.
Configuring the default expiration date of shared files
When files are shared, they can be accessed for a limited period of time. The default time period is 3 months which can be manually changed when the link with which the assets are shared is created or edited.
The duration of the default time period can also be configured. For more information, see Configuring the default expiration date for Shared Links created in Assets.
Comments
0 comments
Please sign in to leave a comment.