Plug-ins can be created to add custom functionality to various parts of Studio, such as the Print editor, the Digital editor, and the Publication Overview.
See for example the following articles:
- Adding custom context menu commands to Studio
- Adding custom functionality to Dossiers in Studio
- Adding custom integrations to the Digital editor of Studio
- Integrating third-party spell checkers in the Print editor of Studio
- Adding custom integrations to the Publication Overview of Studio
Plug-ins are linked to Studio by adding a reference to them in the config.js file of Studio.
Configuring this file can be done in the following ways:
- By using the Management Console in Studio Server
- By directly editing the config.js file itself
Each method is explained below.
Note: Both methods can be used simultaneously, but in practice only one method is used.
Info: Performing some of the steps described in this article requires direct server access. Depending upon how your system is hosted and the level of access you have to that system, coordination may be required with your Partner or WoodWing Support team. For a full overview of the steps that need to be done by WoodWing and how to request them, see WoodWing Cloud - Change management.
Using the Management Console
Info: This method requires Enterprise Server 10.2 or higher, or any version of Studio Server.
In this method, the Management Console in Studio Server is used.
Step 1. Place the plug-in in the following folder (optionally in a subfolder of this folder):
Studio Server location > contentstation > sdk
Step 2. In Studio Server, access the Integrations > Studio > Plug-ins page and choose the page for the area to which the plug-in needs to be added:
- Studio
- Print editor
- Digital editor
- Publication Overview
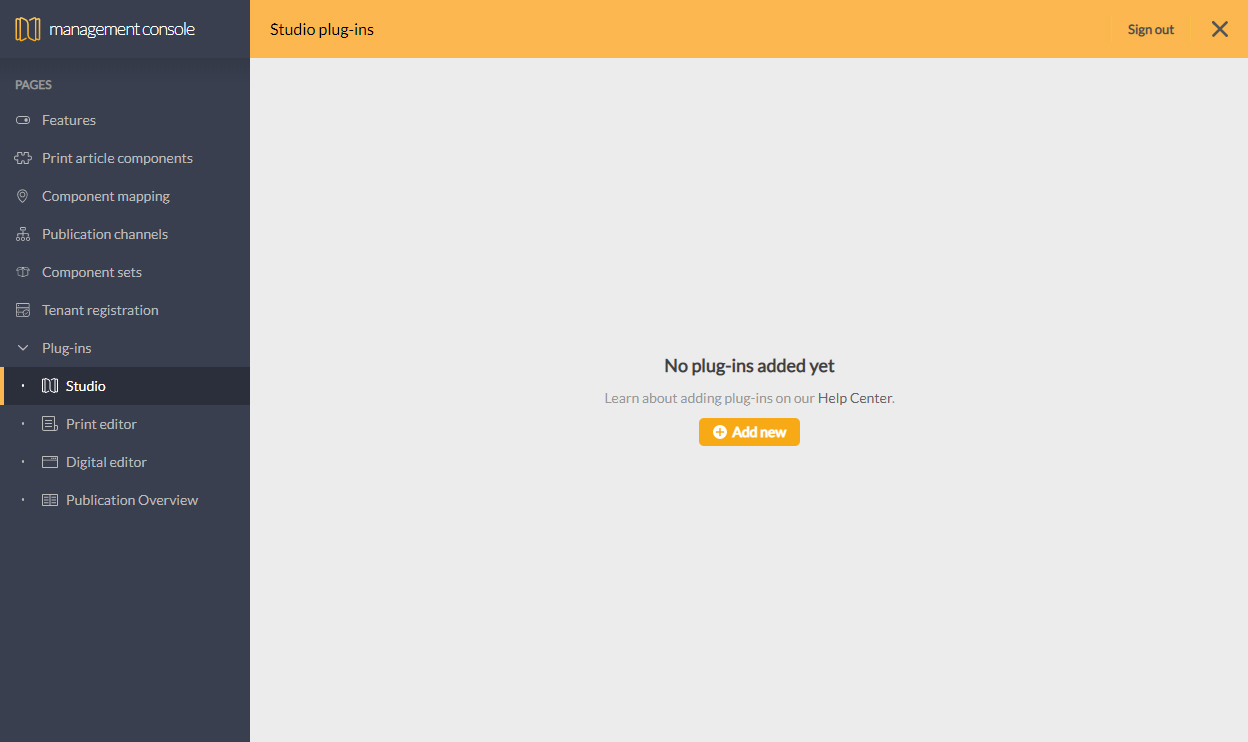
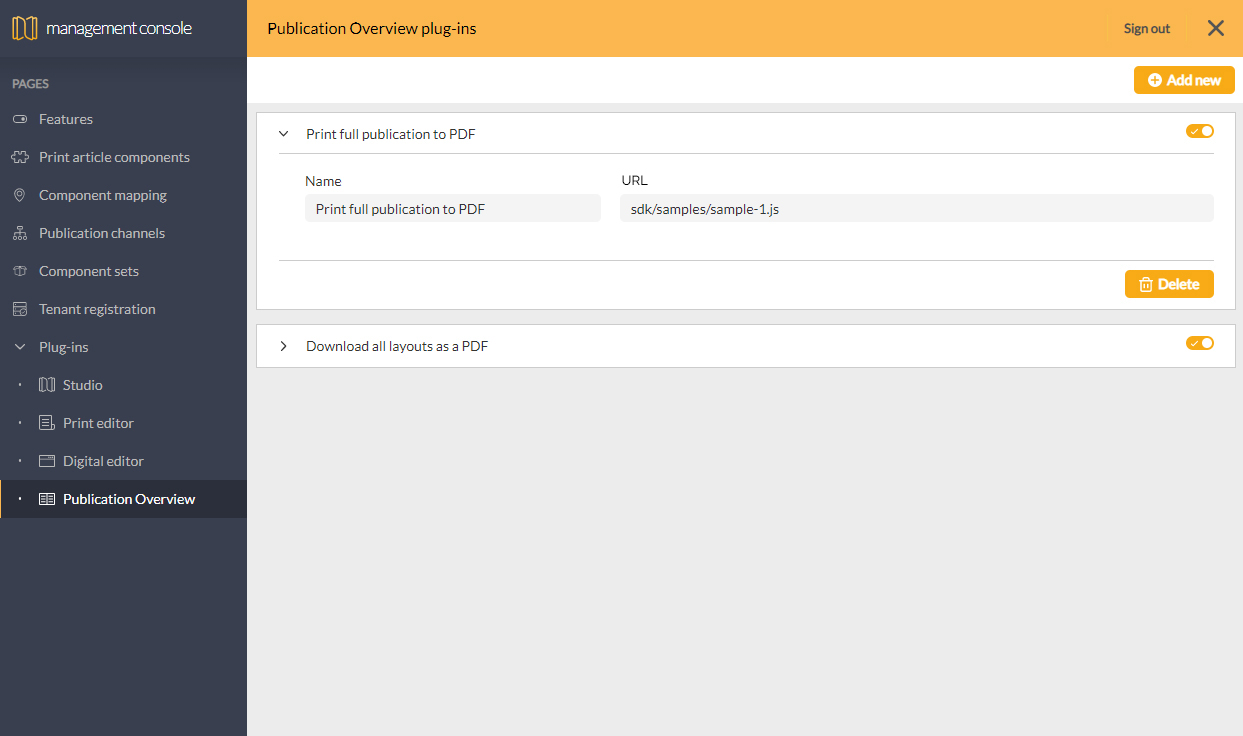
Step 3. Click Add new to add a new plug-in, or click on an existing plug-in to edit its details.
Take note of the following:
- Plug-ins can be temporarily disabled by clicking its switch.
- The URL can either be absolute or relative.
Example: sdk/samples/sample-1.js
Step 4. Log in to Studio — or refresh the page when you are already logged in — and test the working of the plug-in.
Editing the config.js file
In this method, the config.js file of Studio which is stored on Studio Server is directly edited.
Step 1. Place the plug-in in the following folder (optionally in a subfolder of this folder):
Studio Server location > contentstation > sdk
Step 2. Open the following file:
Studio Server location > contentstation > config.js
Step 3. Add a reference to the plug-in in the 'plugins' section and the sub-section that is specific to the area of Studio in which the plug-in is used:
- contentStation
- digitalEditor
- printEditor
- publicationOverview
plugins: {
        contentStation: [
            'my-plugin-1.js',
            'my-plugin-2.js'
        ],
        digitalEditor: [
            'my-de-plugin-1.js',
            'my-de-plugin-2.js'
        ],
        printEditor: [
            'my-pe-plugin-1.js',
            'my-pe-plugin-2.js'
        ],
        publicationOverview: [
            'my-po-plugin-.js'
        ],
},|
Example: |
Step 4. Save the file.
Step 5. Log in to Studio — or refresh the page when you are already logged in — and test the working of the plug-in.
Comments
0 comments
Please sign in to leave a comment.