Creating and publishing channel-neutral content in Studio is done using the Digital editor.
In short, this means that a Story is created that can be directly used in any digital channel or any print output. This is achieved by keeping the content of the Story 'neutral', meaning that only generic styling can be applied and that any channel-specific styling is done once the Story is published to a digital channel or used in a print workflow.
This article gives an overview of each step of the process:
- Creating the article
- Working with text
- Working with images
- Previewing the Story
- Publishing the Story to a digital channel
- Using the Story in a print workflow
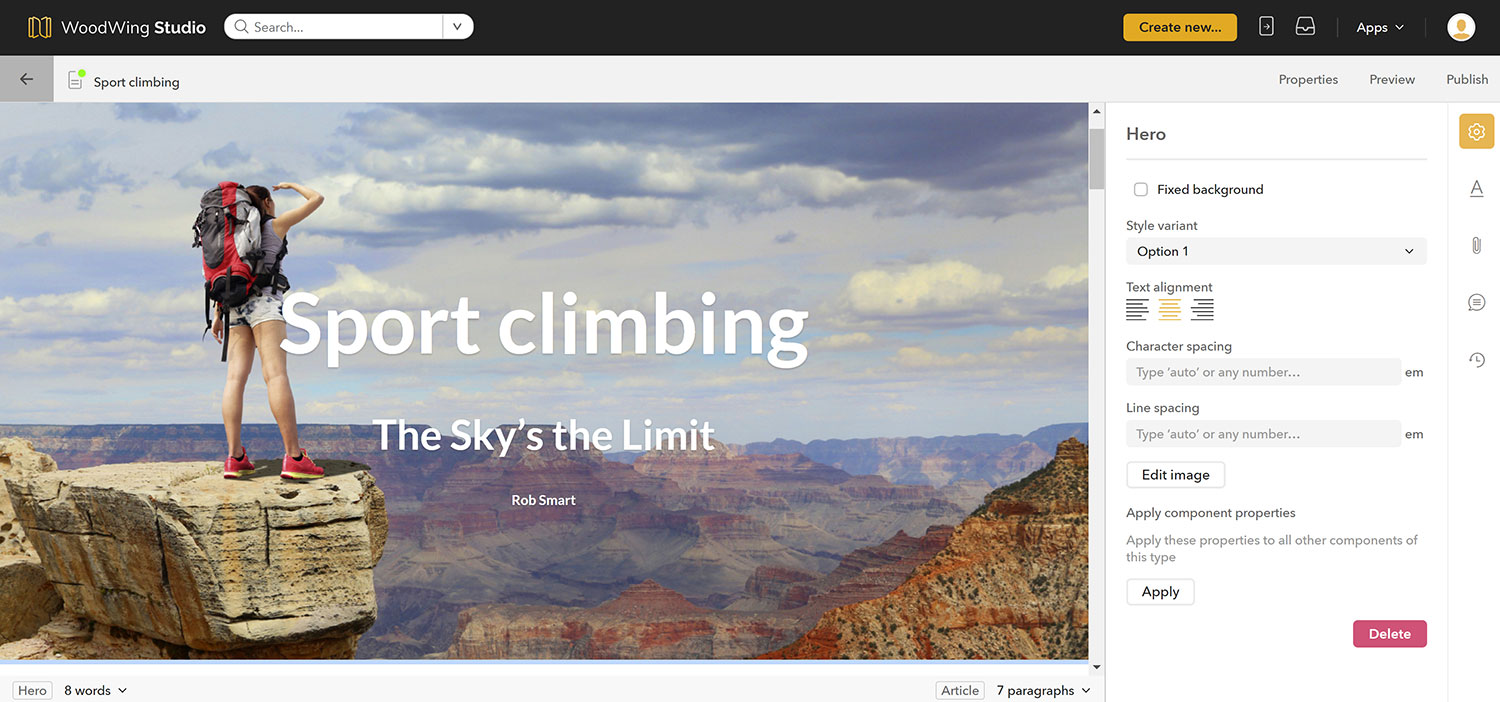
Figure: Working on a story in the Digital editor.
Creating the article
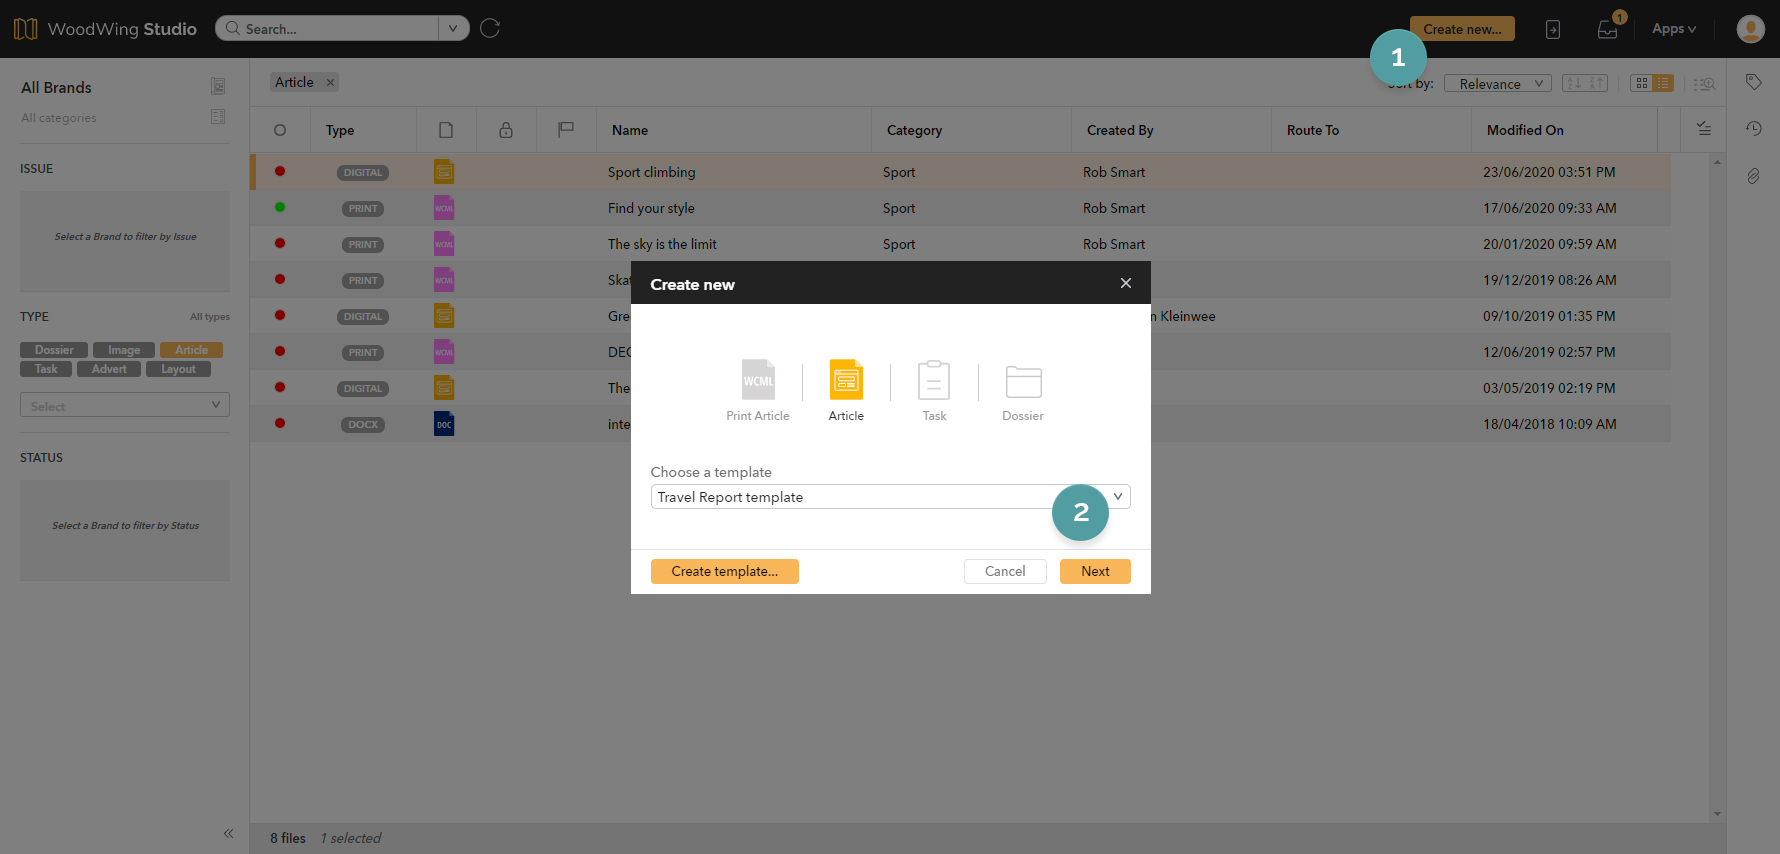
Step 1. Click Create new... at the top of the page.
The 'Create New' window is displayed.
Step 2. Make sure that Article is selected.
Step 3. Choose a template from the list to base the article on and click Next.
Tip: Type any part of the name of the template to filter the list.
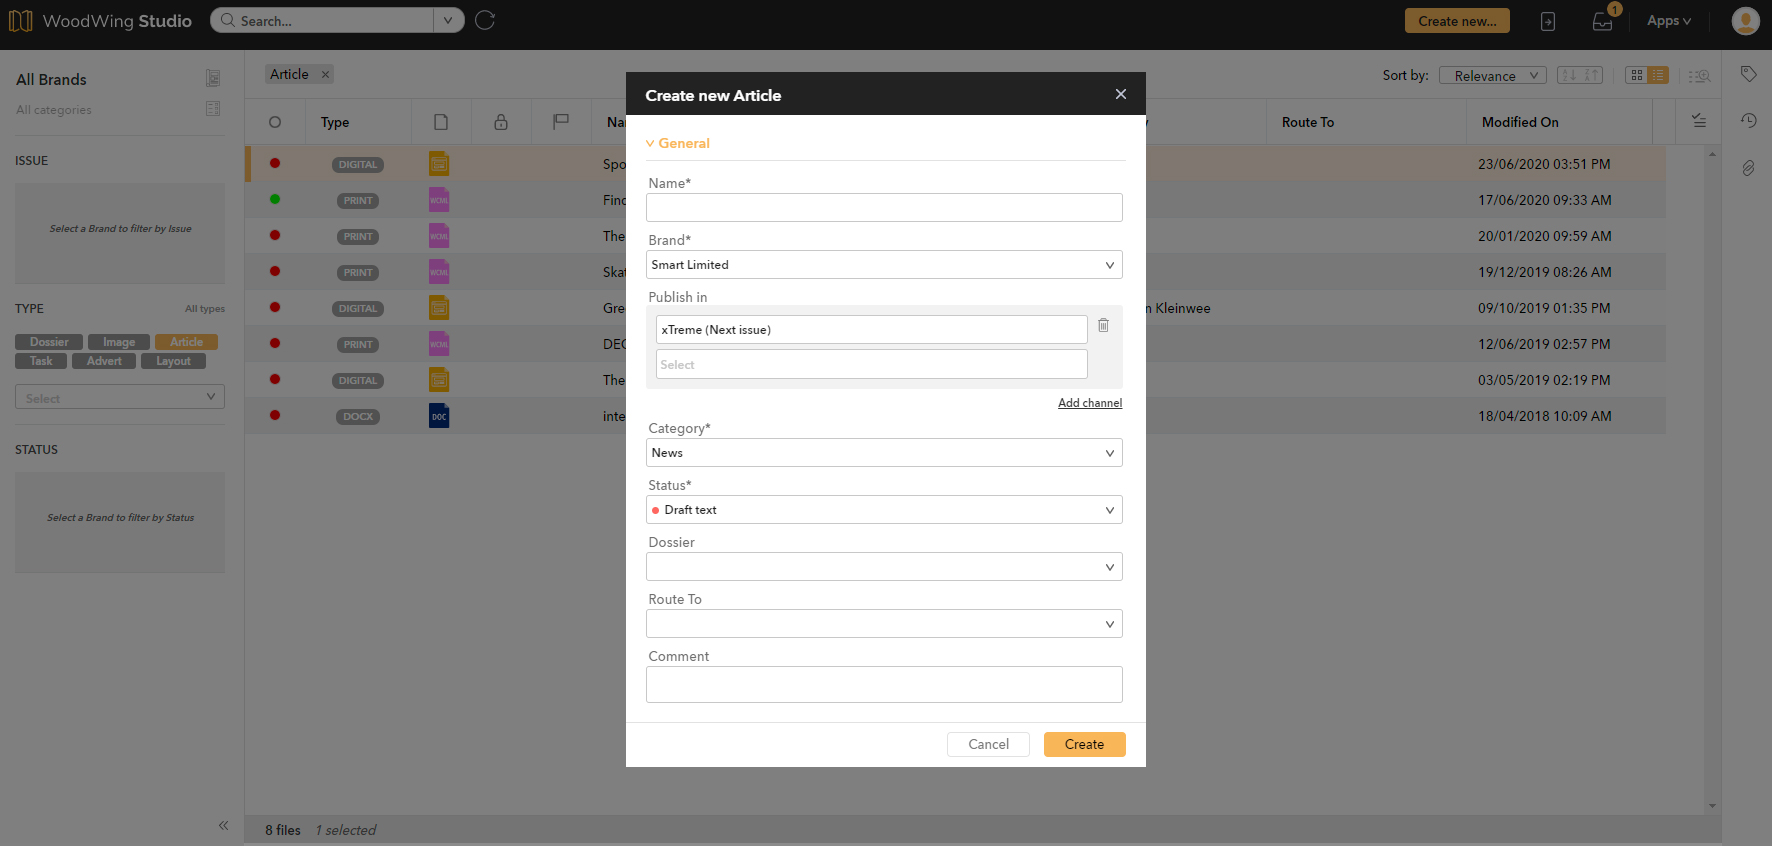
The properties dialog appears.
Step 4. Fill out all necessary details and click Create. The article is created and opened for editing.
Note: For more detailed information, see Creating a new article in Studio.
Working with text
When looking at the way an article is set up, you can see that it consists of different parts: it will have a header, maybe a sub header, multiple paragraphs, perhaps one or more images with or without captions, and so on.
In a Digital article, each of these parts is represented by a 'component'. You will construct your story by adding all those components that your story needs.
So when you want to add a new paragraph, you manually add a Body component or you place your cursor in an existing Body component and press Enter. When you want to add an image you add an Image component and drag an image into it. And so on.
When working with components, you can:
- Add or remove components
- Rearrange components
- Set properties for the component
- Change the component type
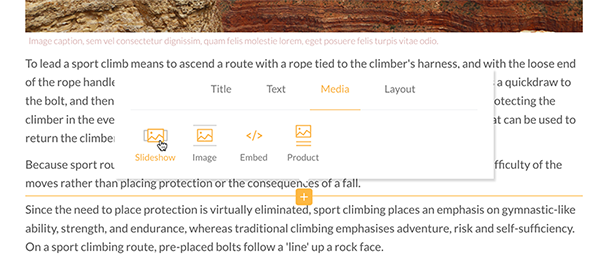
Figure: Adding a Slideshow component to the story.
For more information, see Working with the components of a Digital article.
Styling
Digital articles can be published to various digital channels such as a Web site.
Because each of these channels will have its own styling, applying styling in Studio is limited to local style changes. When opening the article in the Digital editor, a default styling is applied to display the font type, font sizes and colors.
Apply styling by doing one of the following:
- Select some text to make the editing tools appear. Use any of the tools to change the following:
- Drop shadow
- Underline
- Text color
- Text background color
- Font size
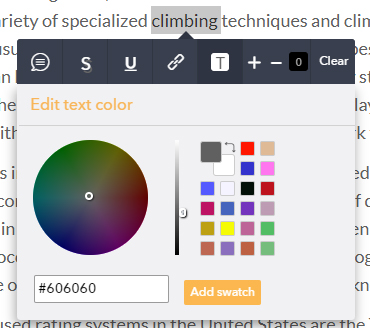
- Place your cursor in a component and open the Properties panel by clicking its icon on the right side of the page. Depending on the type of component, you can change the following:
- Text alignment (left, center or right)
- Drop cap
- Character spacing
- Line spacing

Figure: Setting a drop cap in the Properties panel of a Body component.
Working with images
When working with images in the Digital editor, you will:
- Add images
- Set the focus point of an image
- Crop the image
Adding an image
To add an image to a component that can hold an image, such as an Image component or a Slideshow component, do one of the following:
- Open the Images panel and drag the image from the panel onto the component.
- Drag an image from outside of Studio (such as a folder on your local system), and drag it onto the component. This will also automatically add the image to Studio Server and place it in the same Dossier as the article is in.
Note: You can also first drag the image from your local system into the Images panel. This will add it to Studio Server and the same Dossier as the image. You an then add it to a component at a later stage.
Setting the focus point of an image
When adding an image, it is automatically positioned to best fit the frame. Sometimes this position needs to be adjusted so that the image better fits the design. This can be done by changing the focus point.
Step 1. With the an image selected, click Properties in the toolbar followed by Edit image.
Step 2. Click anywhere in the image to set the new focus point. Keep an eye on the previews on the left to see how the result will look on various devices.
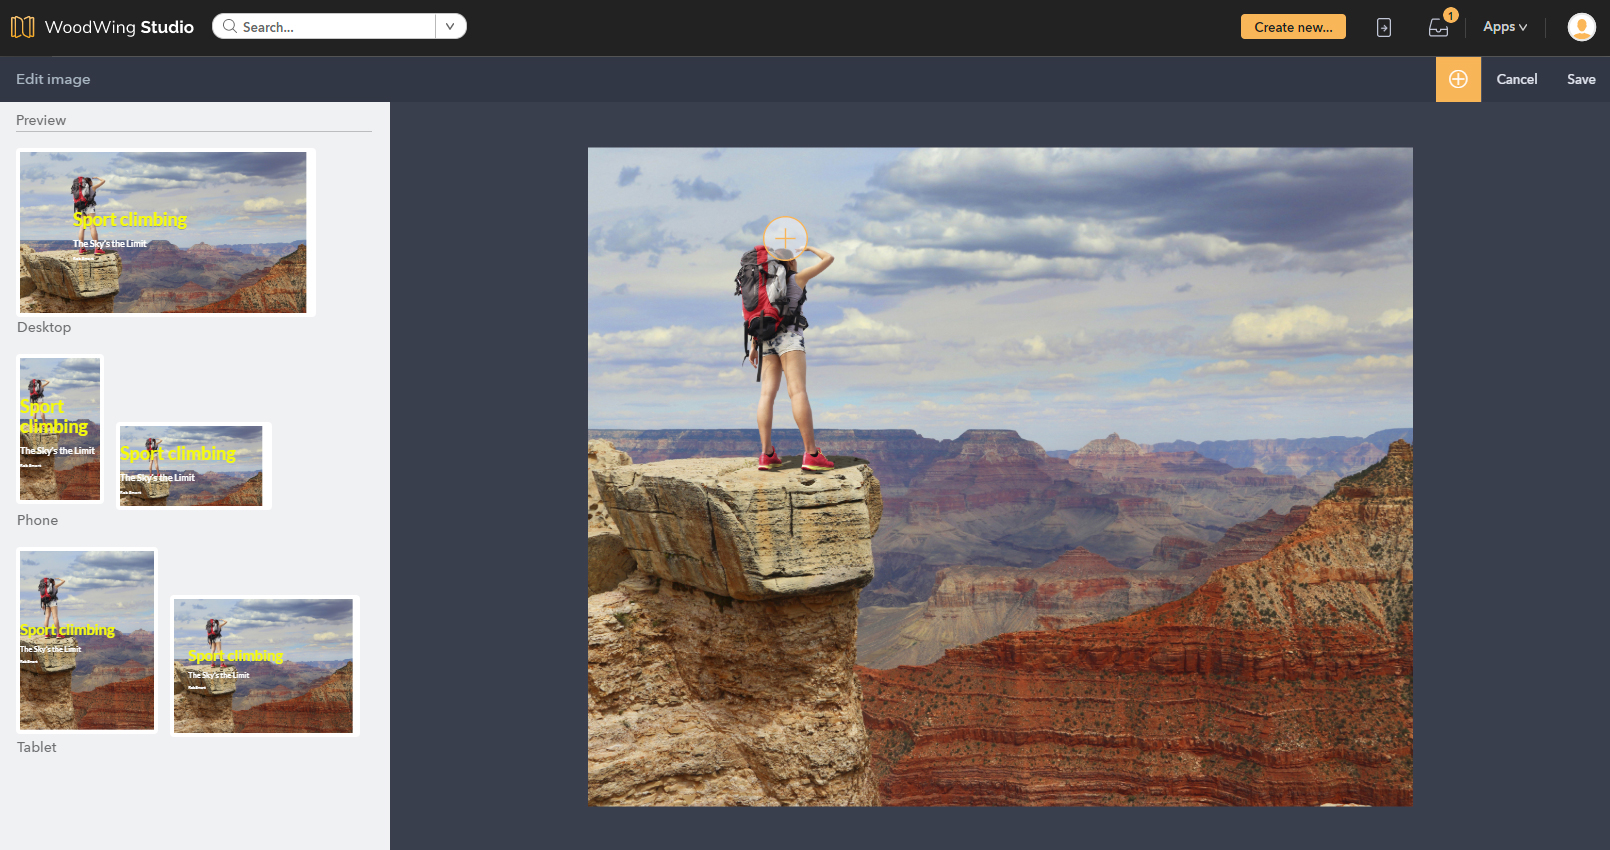
Figure: Setting the focus point.
Step 3. Close the screen by clicking Save in the top right corner.
Cropping the image
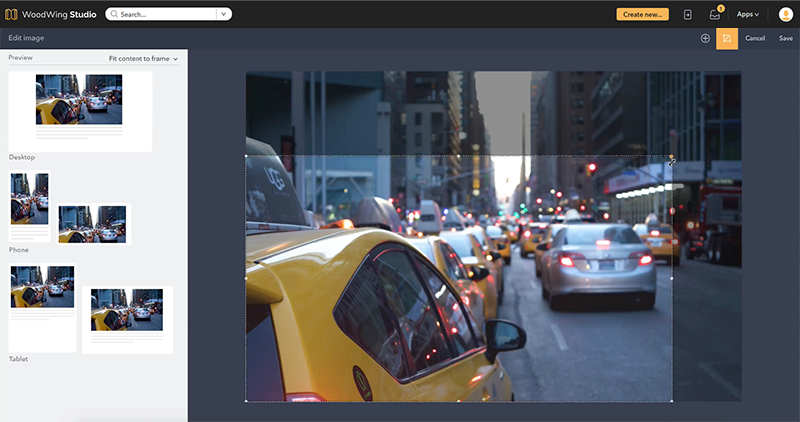
If only part of an image needs to be shown, the image can be cropped by using the cropping tool.
|
Notes:
|
Step 1. With the an image selected, click Properties in the toolbar followed by Edit image.
Step 2. In the toolbar, click the Cropping tool.
Step 3. Mark the area that you want to crop and click Save to leave the editor or use the Focus Point tool to set the focus point to make sure that the image is correctly displayed on the various devices.
Previewing the Story
When writing your Story with the aim to publish it to a digital channel, it is important to see how it will look on various devices such as smart phones and tablets, in both landscape and in portrait orientation.
To verify this, click Preview in the menu bar to open the Story in the Preview page. From the list of devices, choose a device or orientation and whether the preview should be shown vertically or horizontally.
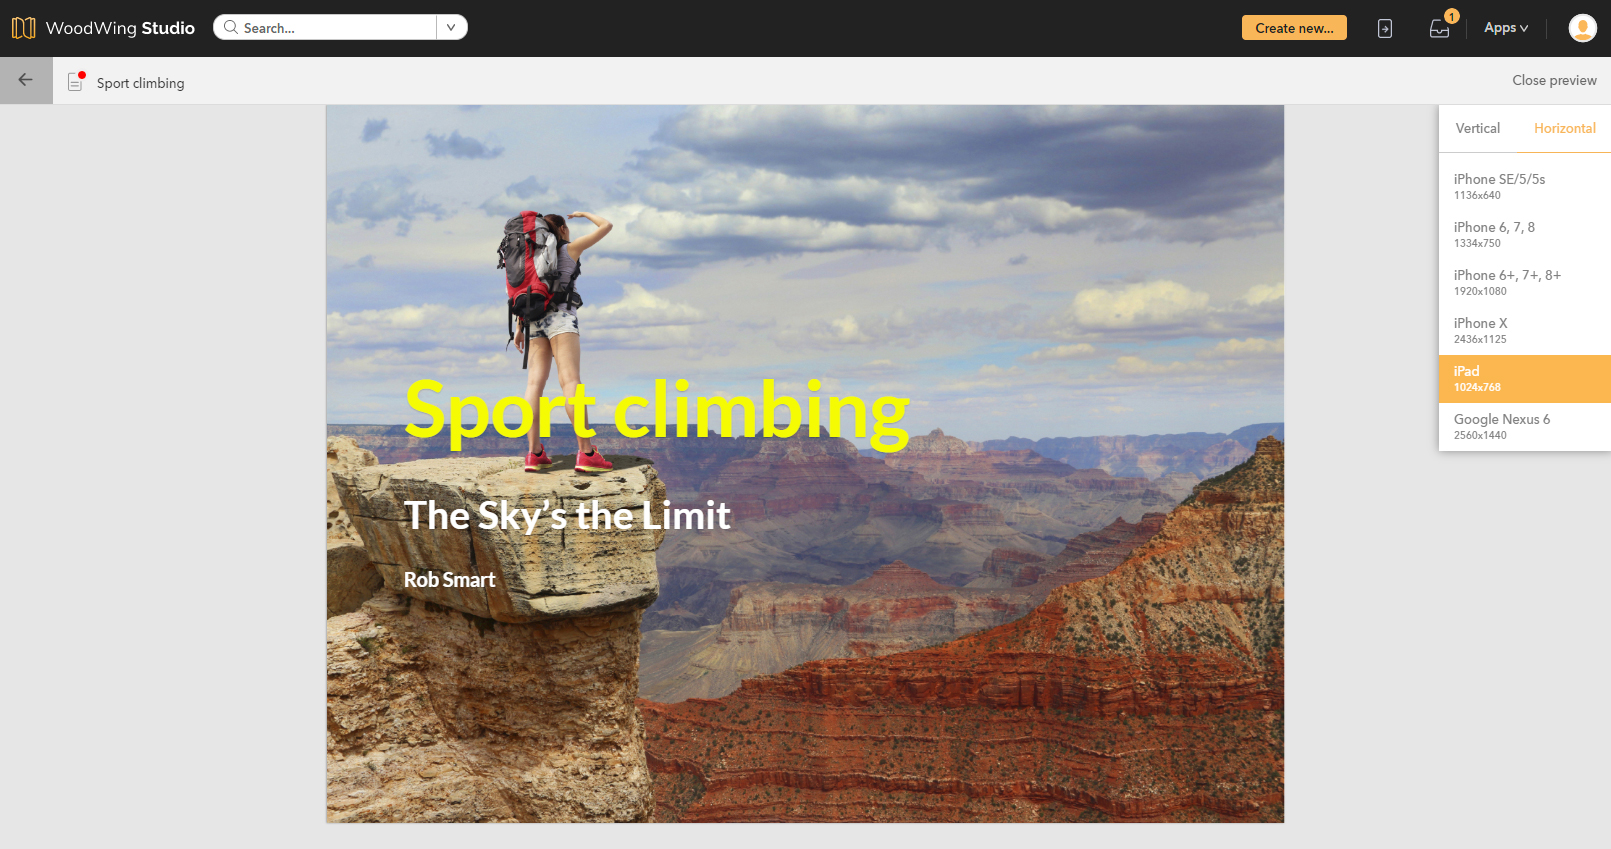
Figure: Previewing a Story.
Publishing the Story to a digital channel
Publishing a Story to a digital channel is done by generating and downloading a set of files which can then be used for importing into a platform such as a WebCMS. The format in which the files are generated is configured for each channel beforehand by the system administrator.
Generating the file set
Step 1. In the top right corner of the Digital editor, click Publish.
The Publish options window appears.
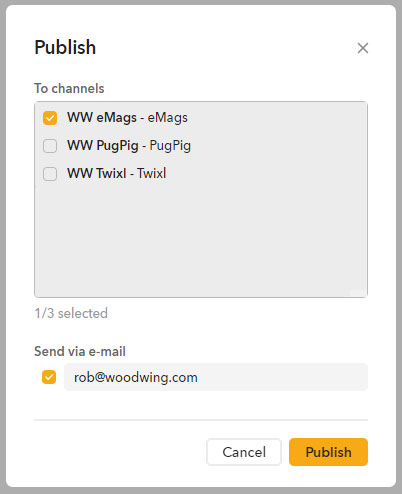
Step 2. Choose the target Send via e-mail and enter the e-mail address to where the download link should be sent to.
Step 3. Click Publish.
Downloading the file set
Use the link in the e-mail that was sent to download the file set.
Using the Story in a print workflow
In a 'digital first' workflow in Studio, stories are first published to one or more digital output channels such as a Web CMS.
Next, these stories might be re-used in a print publication such as tomorrow's newspaper or next month's magazine.
To re-use a Digital article in a print workflow, a print variant of the Digital article can be created which is optimized for a print environment.
The process of creating a print variant consists of the following actions:
- A print variant is created in the form of a Print article
- The Print article is subsequently placed on a layout
Creating a print variant can be done by placing it on a layout that already exists (typically done from within the Publication Overview application), or by placing it on a new layout.
For more information, see the following articles:
Comments
0 comments
Please sign in to leave a comment.