One of the main purposes of a Dossier is to collect all files that are related to a particular story. However, many of these files are purely for reference and only a small number of files will actually be used for publishing the story.
In practice, the number of reference files can quickly increase: previously published stories as well as other documents containing related information may be gathered, photographers may submit dozens of photo shoot images, reporters may send in audio and video recordings of people interviewed, artwork used for inspiration may be collected, and so on.
When working on files in a Dossier, more often than not you only want to see just a few of all files, not all of them; all other files are superfluous which will only get in the way of quickly finding the files that you are after.
By filtering the files in the Dossier on only those that are relevant to what you need at that time, finding files and working on them becomes more efficient.
This filtering can be done by applying labels to files.
How it works
Filtering files in a Dossier is done by assigning one or more labels to a file and then using those labels as a filter to only show those files that have the selected labels assigned.
Example: Labels could be 'Photo shoot 1', 'Photo shoot 2', 'Inspiration', 'Draft content', and so on. Imagine for instance a photo editor who needs to work on images taken during the second photo shoot. To show all the files related to that photo shoot, all it takes is clicking the label that has been set up named 'Photo shoot 2'.
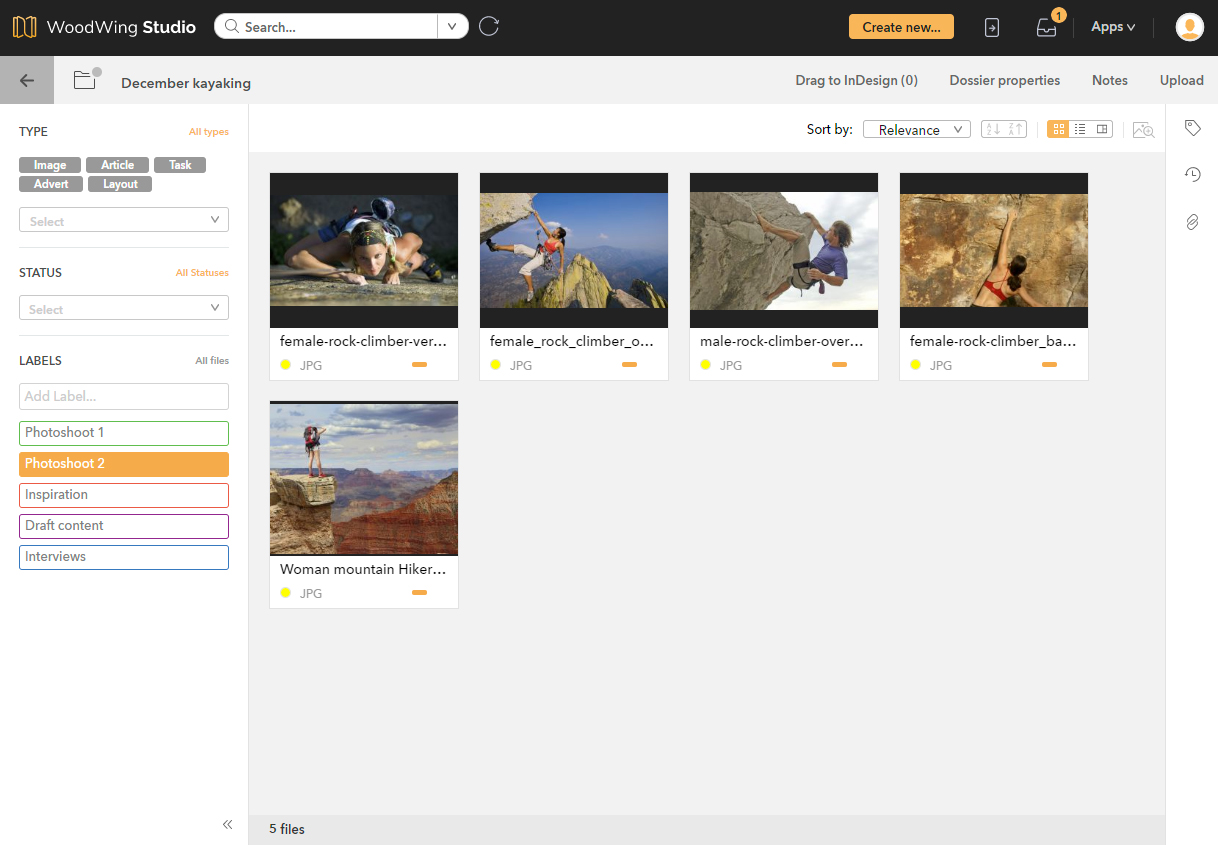
Figure: A Dossier in which files are filtered based on their label. Here, only those files that have the label 'Photoshoot 2' assigned are shown.
Using labels
Using labels is a 3-step process: first they are created, then assigned to one or more files, and subsequently used for filtering the files in the Dossier.
1. Creating and deleting labels
Labels are created within the Dossier in which they are used.
In the 'Labels' section of the Dossier, type the name of the label in the empty box. Press Enter to create the label. The cursor will stay inside the box, so you can continue typing the name of the next label to create.
|
Notes:
|
Deleting labels
Hover the mouse pointer over the label in the Labels section and click the Trash Can icon that appears.
2. Assigning and removing labels
Step 1. Select one or more files in the Dossier.
In the list of labels, the following will appear:
- A plus-sign for those labels that have not yet been assigned to the selected files
- A minus-sign for those labels that have already been assigned to the selected files
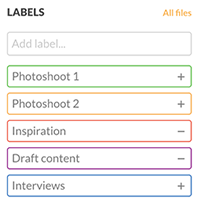
Step 2. Do one of the following:
- Click the plus-sign of a label to assign it to the selected files
- Click the minus-sign of a label to remove it from the selected files
3. Filtering by label
To filter the list of files in the Dossier based on one or more labels, select a label from the list. To select additional labels or remove labels from the selection, simply select that label.
Labels that are selected in the list will have a fully colored background; labels that are not selected will only have a colored outline.
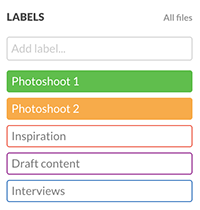
To display all files again, click 'All files' at the top of the Labels section.
How labels are displayed
Labels are displayed in Thumbnail view and in List view.
- In Thumbnail view, each assigned label is shown as a colored bar. Up to four bars can be displayed; when more labels are assigned, an ellipsis (...) appears. Hovering the mouse pointer over a bar or the ellipsis displays the name(s) of the label(s).

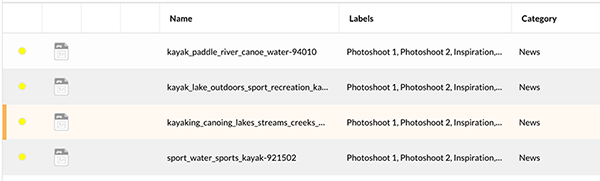
- In List view, labels are displayed in the Labels column.
Comments
0 comments
Please sign in to leave a comment.