To delete an Issue in Enterprise Server, do the following:
Step 1. Access the Publication Channel Maintenance page in which the Issue needs to be deleted.
Step 1a. In the Maintenance menu or on the Home page, click Brands.
A page showing all created Brands appears.
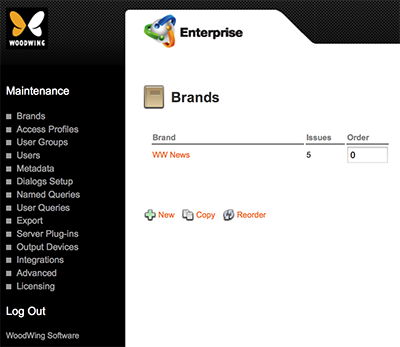
Figure: The Brands page.
Step 1b. Click the name of the Brand.
The Brand Maintenance page appears.
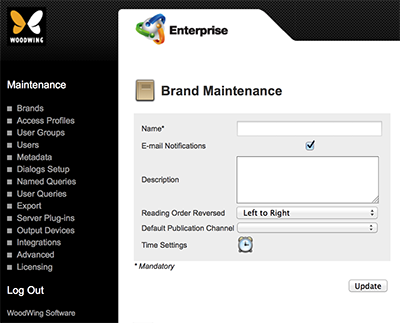
Figure: The Brand Maintenance page.
Step 1c. Locate the Publication Channel options.
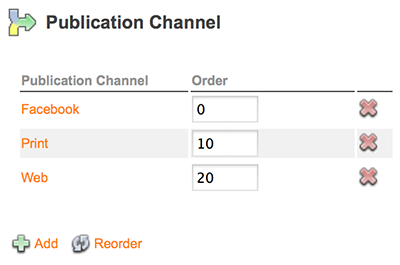
Step 1d. Click the name of the Publication Channel.
The Publication Channel Maintenance page appears.
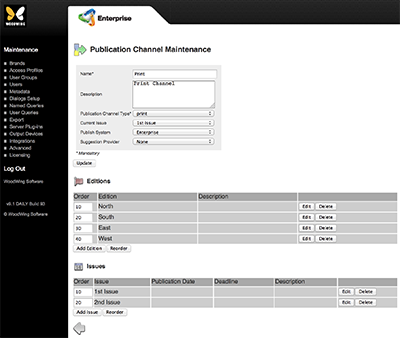
Figure: The Publication Channel Maintenance page for a print channel.
Step 2. For the Issue that needs to be deleted, click Delete.

Figure: The Issues section on the Publication Maintenance page.
A message appears asking to confirm the action.
Step 3. Click OK.
What happens next depends on the following scenarios:
Scenario 1: The Issue contains no assigned files.
When this is the case, the Issue is immediately removed from the system.
Scenario 2: The Issue contains assigned files.
When this is the case, the Clean Up Issue page appears, listing the total number of files that are assigned to the Issue.
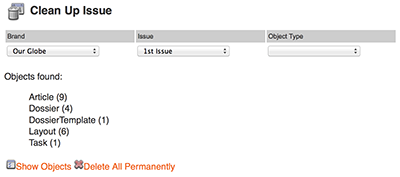
Figure: The Clean Up Issue page.
Before the Issue can be deleted, these files first need to be removed or transferred to another Issue.
Step 3. Click Show Objects.
A detailed list showing the found objects appears.

Step 4. Do one of the following:
- Choose an action from the Action list for each individual object.
- Choose an action from the Action list at the bottom of the page to apply this action to all objects.
The actions to choose from are:
- Delete. Deletes the file.
- Move To. (Default setting if file is used in more than one Issue) Moves the file to another Issue. From the Move To list, select the Issue to which the file needs to be moved.
- Unassign. (Not available for layouts and placed objects) Unassigns the file from the Issue that it is currently assigned to.
- None. Performs no action on the file.
Step 5. At the bottom of the page, click Delete.
A message appears asking you to confirm the action.
Step 6. Click OK.
Comment
Do you have corrections or additional information about this article? Leave a comment! Do you have a question about what is described in this article? Please contact Support.
0 comments
Please sign in to leave a comment.