When Categories are created in Enterprise Server, they are initially listed in the order in which they are created. This order is however also used in the client applications such as in the dialog boxes of Content Station or Smart Connection where the user can choose to which Category a file should be assigned to.

Figure: The order in which Categories are ordered in Enterprise Server (left) has a direct effect on the way Categories are ordered in the client applications (right, here the Create Dossier dialog box of Content Station).
If Categories need to be listed in a more logical way (for example alphabetically), their order can be changed by following these steps:
Step 1. In Enterprise Server, access the Brand Maintenance page in which the Categories need to be reordered.
Step 1a. In the Maintenance menu or on the Home page, click Brands.
A page showing all created Brands appears.
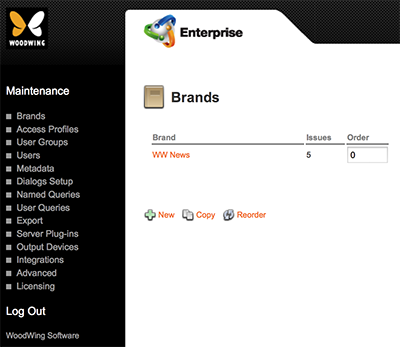
Figure: The Brands page.
Step 1b. Click the name of the Brand.
The Brand Maintenance page appears.
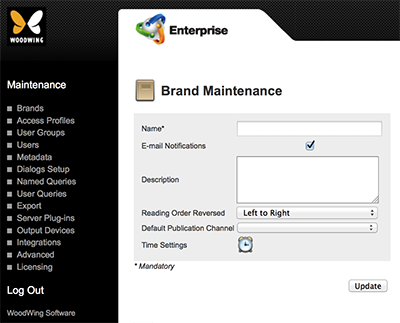
Figure: The Brand Maintenance page.
Step 2. Locate the Category options.

Step 3. In the Order box for each listed Category, enter a unique number.
Note: The higher the number, the lower the Category will appear in the list.
Step 4. Click Reorder.
Related Information
About Categories in Enterprise 9
Related Tasks
Creating a Category in Enterprise Server 9
Deleting a Category in Enterprise Server 9
Reference Materials
Comments
0 comments
Please sign in to leave a comment.