To delete a Category in Enterprise Server, perform the following steps:
Step 1. Access the Brand Maintenance page from which the Category needs to be deleted.
Step 1a. In the Maintenance menu or on the Home page, click Brands.
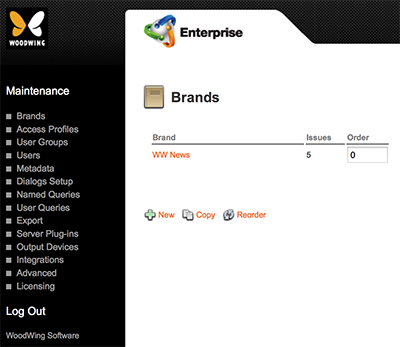
A page showing all created Brands appears.

Figure: The Brands page.
Step 1b. Click the name of the Brand from which the Category needs to be deleted.
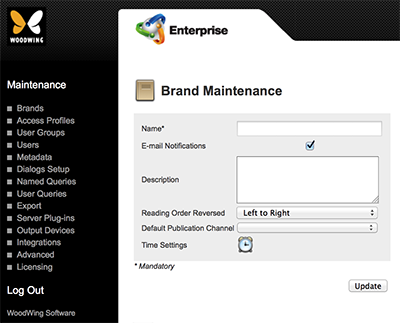
The Brand Maintenance page appears.

Figure: The Brand Maintenance page.
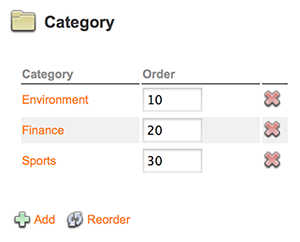
Step 1c. Locate the Category section.

Step 2. For the Category that needs to be deleted, click the Delete icon.
A message appears asking to confirm the action.
Step 3. Click OK.
What happens next depends on the following scenarios:
Scenario 1: The Category contains no assigned files.
When this is the case, the Category is immediately removed from the system.
Scenario 2: The Category contains assigned files.
When this is the case, the Remove Category page appears, listing the total number of files that are assigned to the Category.

Figure: The Remove Category page.
Before the Category can be deleted, these files first need to be removed or transferred to another Category.
Step 4. For each file, specify if it should be deleted from the system or moved to a different Category.
Step 5. Click Refresh.
A message appears asking you to confirm the action.
Step 6. Click OK.
Related Information
About Categories in Enterprise 9
Related Tasks
Creating a Category in Enterprise Server 9
Controlling the order in which Categories appear in Enterprise 9
Reference Materials
Comment
Do you have corrections or additional information about this article? Leave a comment! Do you have a question about what is described in this article? Please contact Support.
0 comments
Please sign in to leave a comment.