It is very common that a placed database image (stored in Studio Server) needs to be edited at various times during the production process. This can be quickly and efficiently done by using the Edit Original option in InDesign and InCopy.
Note: For information about how to place images that are stored in Studio Server, see Placing files on a layout using Studio for InDesign and Working with images in Studio for InCopy.
Step 1. Use one of the following methods:
For InDesign:
- With the Selection tool active, double-click the database image on the layout while holding down the Option key (macOS) or Alt key (Windows).
- Select the placed database image on the layout, right-click it and from the context menu choose Edit Original.
- Select the placed database image on the layout and choose Edit > Edit Original.
- Access the Links panel (Window > Links), select the placed database image in the panel and click the Edit Original button, choose Edit Original from the panel flyout menu, or right-click the file and choose Edit Original from the context menu.
For InCopy:
- With the Position tool active, double-click the database image on the layout while holding down the Option key (macOS) or Alt key (Windows).
- With the Position tool active, select the placed database image on the layout and do one of the following:
- Select the image, right-click it and from the context menu choose Edit Original.
- Select the image on the layout and choose Edit > Edit Original.
- Access the Links panel (Window > Links), select the placed database image in the panel and click the Edit Original button, choose Edit Original from the panel flyout menu, or right-click the file and choose Edit Original from the context menu.
The image opens in the application that has been set up as the default editor for that type of image on your system.
Example: A JPG image will be opened in Photoshop if your system has been configured in such a way that JPG files are always opened in this application.
Step 2. Edit the image in some way.
Step 3. Save the file.
Step 4. (Optional, but recommended) Close the file.
Step 5. Return to InDesign or InCopy.
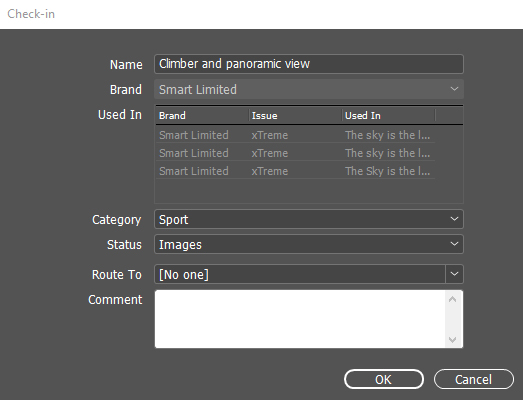
Studio for InDesign and InCopy will detect that the image has been modified and displays the Check-in dialog box so that these changes can be saved to Studio Server.
Note: It might take a few seconds for the dialog box to appear.
Step 6. (Optional) Update any of the editable fields.
Step 7. Click OK.
The following actions take place:
- The image is saved to Studio Server.
- The image on the layout is updated with the saved changes.
Comments
0 comments
Please sign in to leave a comment.