Getting a story published is teamwork and involves many people with different skills: from researchers gathering the initial content, to a journalist doing interviews, a photographer taking photos, a designer laying out the page, and so on.
To make sure that each person is aware of what needs to be done to get the story published on time, Tasks can be created and assigned to a user or user group.
In a typical workflow, one or more files are assigned to the Task. These files can either be files that already exist in the system and that the user needs to work on (such as articles that need to be reviewed), or they could be new files that a user has created as a result of receiving the Task (such as images from a photoshoot).
This article describes how to work with Tasks in Studio.
Requirements
For creating Tasks, the following Access Right should be enabled in your user profile or user group profile:
- Workflow > Create Tasks
Creating a Task
Step 1. (Optional) If you want to directly add the Task to a Dossier, open that Dossier first.
Step 2. Click Create new... at the top of the page.
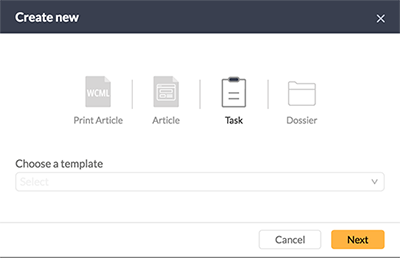
The 'Create New' window is displayed.

Step 3. Select Task and click Next.
Note: It is not necessary to choose a template.
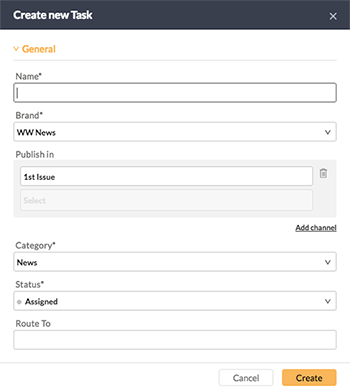
The Properties for the Task appear.

Step 4. Fill out all necessary details and click Create. The Task is created.
Adding files
Adding files to a Task can be split into the following scenarios:
- Adding files that already exist in Studio
- Adding files that do not yet exist in Studio
Adding files that already exist in Studio
Step 1. Make sure that the Task and the files that need to be added to the Task are all in the same Dossier.
Step 2. Right-click one or more files in the Dossier and from the context menu choose Add to Task followed by the name of the Task.
The files are added to the Task.
Adding files that do not yet exist in Studio
Step 1. Open the Task to which the files should be added.
Step 2. Do one of the following:
- Click the Browse button (available when the Task is empty) or the Upload button in the top right corner of the screen. Browse to the files and add them.
- Drag and drop the files onto the Task.
Removing files
To remove a file from a Task, open a Task, right-click a file and choose Remove from Task.
Modifying Task properties
To modify the properties for a Task (for example to change its Workflow Status or to route the Task to a user or user group), do one of the following:
- Select the Task anywhere in Studio, open the Properties panel on the right side of the screen and make your changes.
- Open the Task and in the top right corner of the screen click Task properties.
Viewing the files that are assigned to a Task
To view the files that are assigned to a Task, do one of the following:
- Open the Task.
- Select the Task anywhere in Studio and open the 'Linked files' panel by clicking its icon on the right side of the screen.
Viewing modes
The files that are shown in a Task can be viewed in the following modes:
- Thumbnail view. Shows a thumbnail of each file or, when no thumbnail is available, the file icon.
- List view. Shows all files as a list. For more information, see Working with List View mode in Studio.
Each mode can be accessed by clicking its button in the toolbar:
![]()
Figure: Choosing a viewing mode in a Task.
Adding Notes
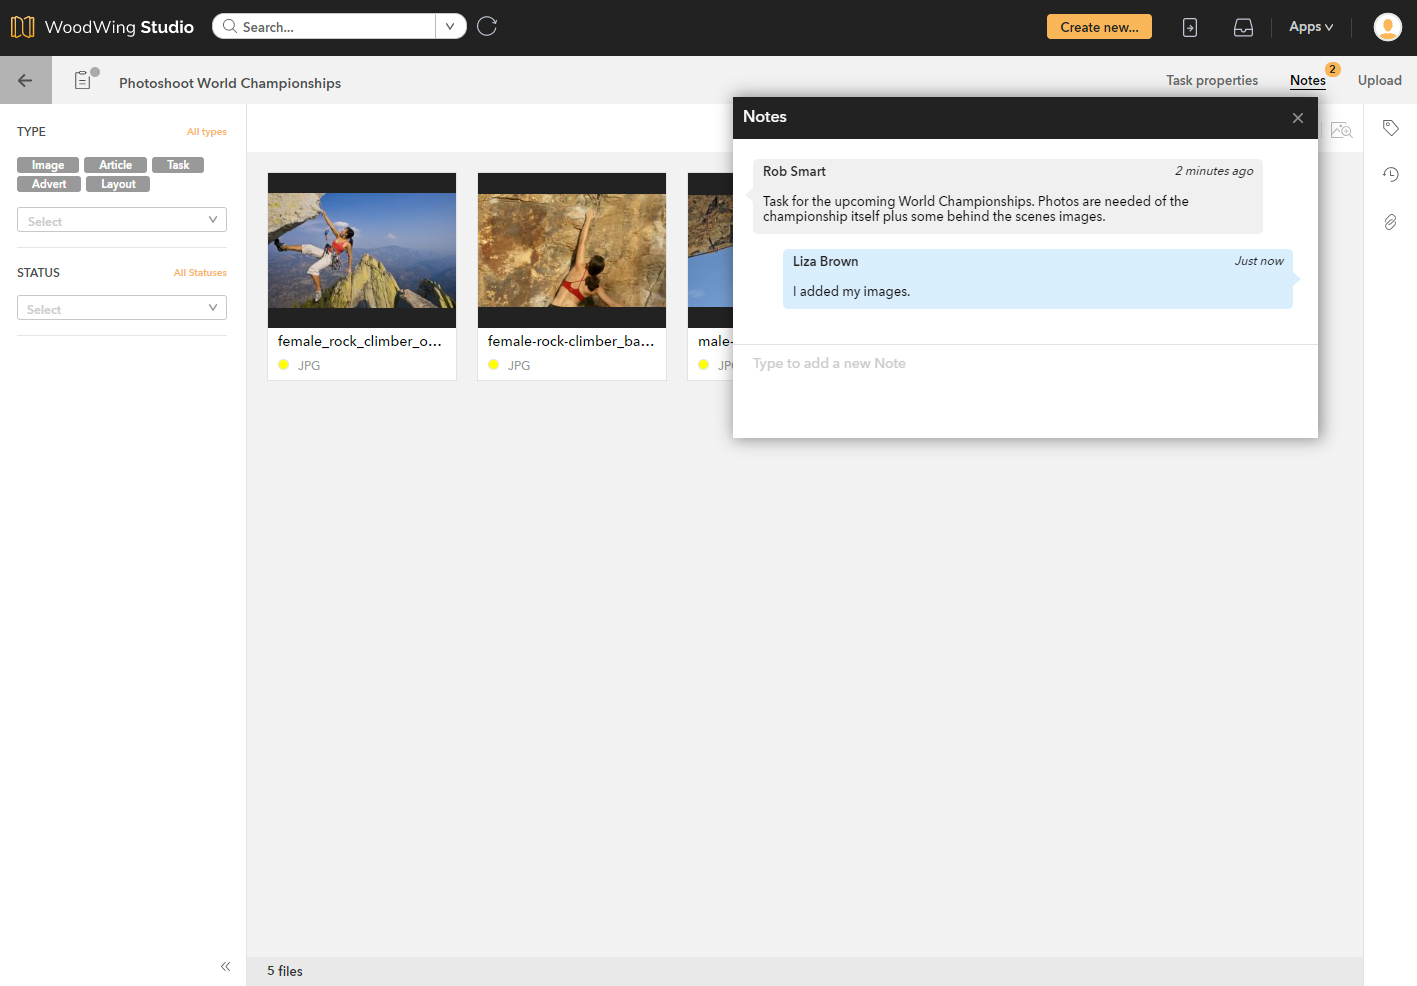
When a Task is created, it may not always be clear to other users what the Task should be used for or what content it should contain.
Task Notes in the form of a chat box can be used to indicate or discuss this aspect with other users.

Working with Task Notes is done through the Notes button in the menu bar of a Task.
When any Notes exist, the total number of Notes is shown on the button.
Click the Notes button to open the Notes window.
Add a new Note by entering your message and pressing Enter, or edit or delete existing Notes.
Comment
Do you have corrections or additional information about this article? Leave a comment! Do you have a question about what is described in this article? Please contact Support.
0 comments
Please sign in to leave a comment.