Publishing to a channel involves publishing the a Digital article in a particular file format to a location where it is picked up and processed in some way. Many different ways of doing this exist, but one way would be to publish the Digital article to a Web CMS environment.
This article describes how to set up a Publication channel using an example written in PHP and how to publish it.
Before you start
Before you start, it is recommended to first test the general process of publishing to digital channels in Studio Server.
Step 1. Make sure that Studio Server jobs are set up including a job queue processor.
Note: It is not needed to set up one of the available default Server Jobs, the publishing process makes use of a user-initiated Server Job.
Step 2. Open any Digital article, click Publish and use the option Send via e-mail to send the article to yourself. Should this not work, troubleshoot this first.
How it works
Every Publication channel is configured with an 'endpoint' that Studio sends messages to when the Digital article is published. For more information about the publish process and the publish endpoint, see The process of publishing Digital articles in Studio.
How to use it
The following process is used to receive messages on this example.
Step 1. Follow the instructions of the README in the example.
Step 2. Set up the Publication channel by doing the following:
Step 2a. In Studio Server, access the Management Console for Studio by clicking Integrations > Studio.
Step 2b. In the menu, choose Publication channels.
The Publication channels page appears showing all Brands. When selecting a Brand, all Publication channels for that Brand appear.
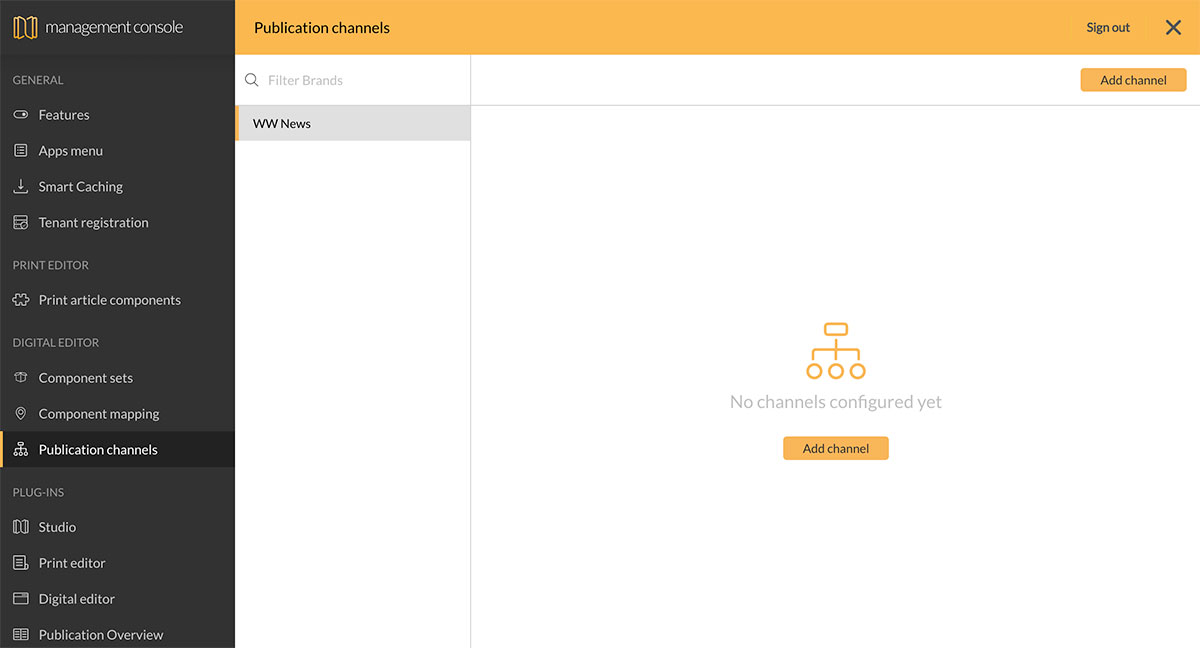
Step 2c. Click Add channel.
Step 2d. Fill out the details.
Note: Your changes are automatically saved.
- Name: The name you want to give this channel. This name will appear in the list of Publish channels that the user can choose from.
- Group name: The group name you want to publish to. The user interface will group channels with the same Group name in the Publish dialog.
Example: When publishing to a Web CMS that contains a test (sandbox) channel and a production channel, you could use the group name 'Web CMS'. This helps gather the related channels rather than needing to duplicate the channel name
- Endpoint URL: The URL that Publish (SNS) messages will be posted to. This needs to link to the endpoint as created in step 1.
Note: When custom data is added (see below), the endpoint needs to use HTTPS and needs to be able to verify the origin of the SNS message (see the Amazon documentation Verifying the Signatures of Amazon SNS Messages).
- Reference images by ID only (actual images will not be sent). Select this option when only a reference to any images in the article need to be included, not the actual images.
- Export formats. Choose the format into which you want to export the article: JSON, HTML, or PSV.
Note: The PSV format, based on Prism and with the extension .psv, contains the structure, properties, content, design and related files of the article. For more information, see the documentation on idealliance.org. For information about the mapping between the Digital article components and the prism fields, see Mapping between Digital article components in Studio and PSV classes.
- Custom data. Use this option to add additional data that is required for the channel to publish the article. A typical example would be to include authentication or security information.
|
Notes:
|
- Maximum width and height for images in Assets. (See Optimizing images for publishing a Digital article in Studio) Assets images that are published to a digital channel and which have a format bigger than 2500 x 2500 pixels are automatically downsized to that format. To change this format, set a custom width and/or height.
Step 2e. Click outside any of the fields to have the channel automatically created.
Step 3. Create an article in the Digital editor and publish it to the Publication channel. (See Working with Digital articles in Studio.)
Comments
0 comments
Please sign in to leave a comment.