This is step 12 of performing a major upgrade from Enterprise Server 8 to Enterprise Server 9.2 or higher. (See a list of all steps)
To upgrade the Smart Connection plug-ins, simply run the installer for Smart Connection.
Step 1. Start the installation for Smart Connection by double-clicking the installer.
The Introduction screen appears.
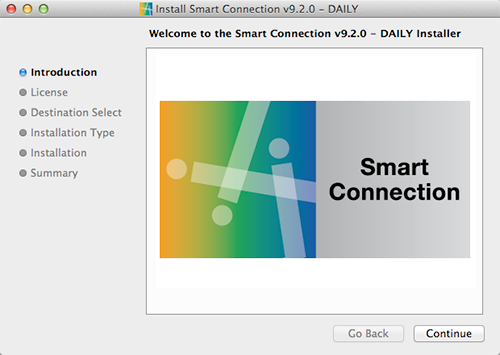
Step 2. Click Continue.
The Software License Agreement screen appears.

Step 3. Read the license agreement and click Continue followed by Agree.
The Select a Destination screen appears.
Step 4. Choose how you want to install Smart Connection:
- Install for all users of this computer. The root of the current disk is used as the starting point for the installation.
- Install on a specific disk. Manually choose the disk on which you want to install Smart Connection.
Step 5. Click Continue.
The Custom Install screen appears.
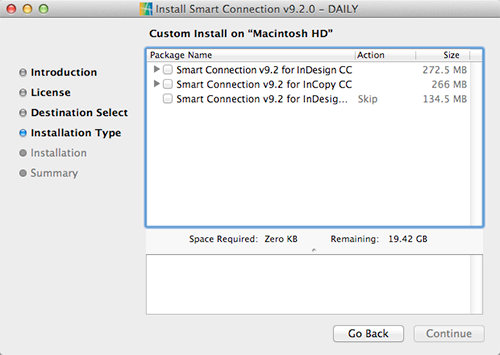
Step 6. Select the items to install:
- Smart Connection 9.x plug-ins for InDesign CC. Including:
- Smart Connection plug-ins. Installs the Smart Connection functionality.
- Digital Publishing plug-ins. Installs the Digital Publishing Tools, used for creating content aimed at publishing to Adobe DPS.
- Smart Connection 9.x plug-ins for Adobe InCopy CC. Including:
- Smart Connection plug-ins. Installs the Smart Connection functionality.
- InCopy Overset plug-in. Allows writers working with InCopy to edit overset text when in Layout mode.
- Smart Connection 9.x plug-ins for InDesign CC Server. Including:
- Smart Connection plug-ins. Installs the Smart Connection functionality, used for preview generation and background tasks.
- Digital Publishing plug-ins. Installs the Digital Publishing Tools, used for creating content aimed at publishing to Adobe DPS.
Step 7. Click Continue.
Depending on whether an installation of InDesign, InCopy, or InDesign Server exists or not, one of the following will happen:
- When one installation exists in the Applications folder then this folder is automatically used.
- When no installation exists in the Applications folder then the installer looks for installations elsewhere.
- When multiple installations exist in the Applications folder or elsewhere, then these are shown in a list. Choose the instance in which Smart Connection should be installed.
- In case the installer is not able to find an existing installation, the Choose a Folder dialog box appears. Browse to the location where the instance is installed.
The Standard Install screen appears.
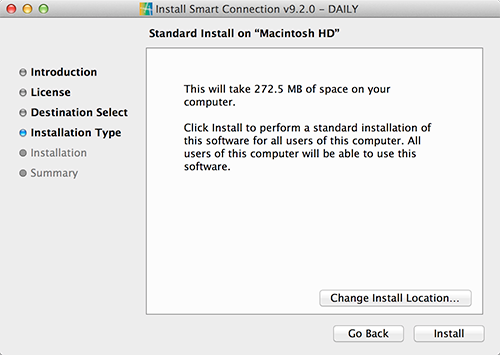
Step 8. (Optional) Click Change Install Location and browse to the folder in which InDesign, InDesign Server, or InCopy is installed. Select this folder and click Choose.
Step 9. Click Install.
The Authenticate dialog box appears.
Step 10. Enter your system password and click Install Software.
The following is installed:
- Smart Connection plug-ins. Location: [InDesign/InDesign Server/InCopy application folder]/Plug-ins/WoodWing folder.
- Smart Connection uninstaller. Location: InDesign/InDesign Server/InCopy application folder.
- Sticky Notes extension.
The Summary screen appears.

Step 11. Click Close to close the installer.
Step 12. (Optional, only if the Digital Publishing Tools panels have been installed) In order for the content of the Digital Publishing Tools panels in InDesign to be displayed, Adobe Flash Player needs to be installed on each client system running InDesign. It is recommended to install the latest version of Flash Player, obtained from http://get.adobe.com/flashplayer/.
Step 13. Activate Smart Connection as explained in Activating Smart Connection 9.
Step 1. Start the installation program for Smart Connection by double-clicking the installer.
The Choose Setup Language screen appears.
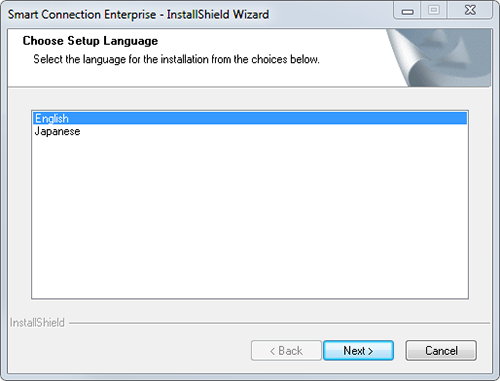
Step 2. Choose either English or Japanese.
Step 3. Click Next.
The Welcome screen appears.
Step 4. Click Next.
The Software License Agreement screen appears.

Step 5. Read the license agreement and click the option I accept the terms of the license agreement.
Step 6. Click Next. The Setup Type screen appears.

Step 7. Select which plug-ins to install:
- Smart Connection 9.x plug-ins for InCopy CC.
- Smart Connection 9.x plug-ins for InDesign CC.
- Smart Connection 9.x plug-ins for InDesign CC Server.
Step 8. Click Next.
The Destination Location screen appears. The destination is automatically detected and displayed at the bottom.
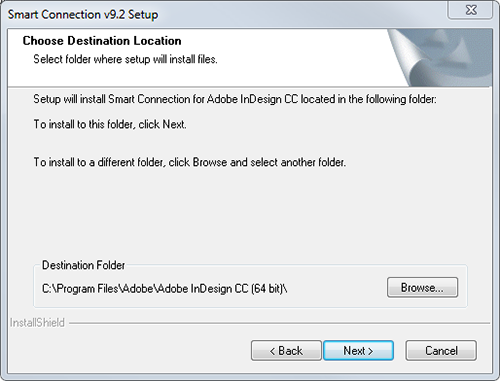
Step 9. (Optional) If another destination needs to be used, use the Browse button to browse to that destination.
Step 10. Click Next to continue. The Select Features screen appears.

Step 11. Select which components to install:
- When installing the plug-ins for InCopy:
- Smart Connection plug-ins. Installs the Smart Connection functionality.
- InCopy Overset plug-in. Allows writers working with InCopy to edit overset text when in Layout mode.
- When installing the plug-ins for InDesign:
- Smart Connection plug-ins. Installs the Smart Connection functionality.
- Digital Publishing plug-ins. Installs the Digital Publishing Tools.
- When installing the plug-ins for InDesign Server:
- Smart Connection plug-ins. Installs the Smart Connection functionality, used for preview generation and background tasks.
- Digital Publishing plug-ins. Installs the Digital Publishing Tools.
Step 12. Click Next to continue.
The plug-ins will be installed in the following location:
[Application folder for InDesign, InCopy or InDesign Server]/Plug-ins/WoodWing.
Step 13. While installing the Sticky Note extension, the Adobe Extension Manager CC appears. Follow the steps onscreen to install the extension.
Step 14. When finished, click OK to close the installer.
Step 15. (Optional, only if the Digital Publishing Tools panels have been installed) In order for the content of the Digital Publishing Tools panels in InDesign to be displayed, Adobe Flash Player needs to be installed on each client system running InDesign. It is recommended to install the latest version of Flash Player, obtained from http://get.adobe.com/flashplayer/.
Step 16. Activate Smart Connection as explained in Activating Smart Connection 9.
Next step
Step 13. Upgrading the InDesign and InCopy templates
Reference Materials
Comments
0 comments
Please sign in to leave a comment.