The Brand portal in Swivle can be seen as a basic version of Swivle: it only provides access to certain locations in the system (based on the user's access rights) using a simplified but powerful search system.
In the Brand portal, files can only be downloaded or shared with other people.
The Brand portal is aimed at regular users who need access to certain files but are not allowed to make changes to these files. Think of colleagues, sales or marketing people, external agencies, and so on.
Only one Brand portal exists within your Swivle environment (as opposed to having multiple 'Portals').
This article describes the main features of the Brand portal and is aimed at users who are new to Swivle.
For large topics such as searching for files, sharing files, and so on, a summary is given and links to articles with more detailed information are provided.
Note: See also the Quick Start for Swivle and the Quick Start for Swivle for InDesign.
The following topics are described:
- Accessing the Brand portal
- Setting up your environment
- Searching for files
- Sharing files
- Working on files in batch
Accessing the Brand portal
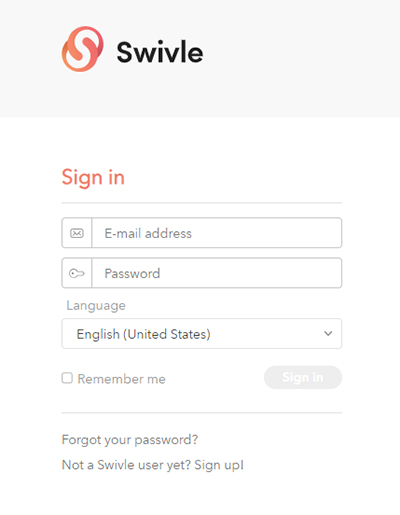
You access the Brand portal through a Web link by using a Web browser. You will have been sent the link by e-mail when the system administrator created an account for you based on your e-mail address. During the sign-up process, you will have also set up a password for your Swivle account.
Access the link and when prompted, log in using your credentials.
Example: https://app.swivle.com/#/signin
Setting up your environment
Before you start working with Swivle, you might want to further set up your environment by doing the following:
- Changing the language in which Swivle is displayed.
- Updating your account settings by changing your name, avatar, or password.
- Changing the font size by slightly increasing or decreasing the default font size of the text by using the options in the Avatar menu.
![]()
Searching for files
Working with files in Swivle begins with first finding the files that you want to work with.
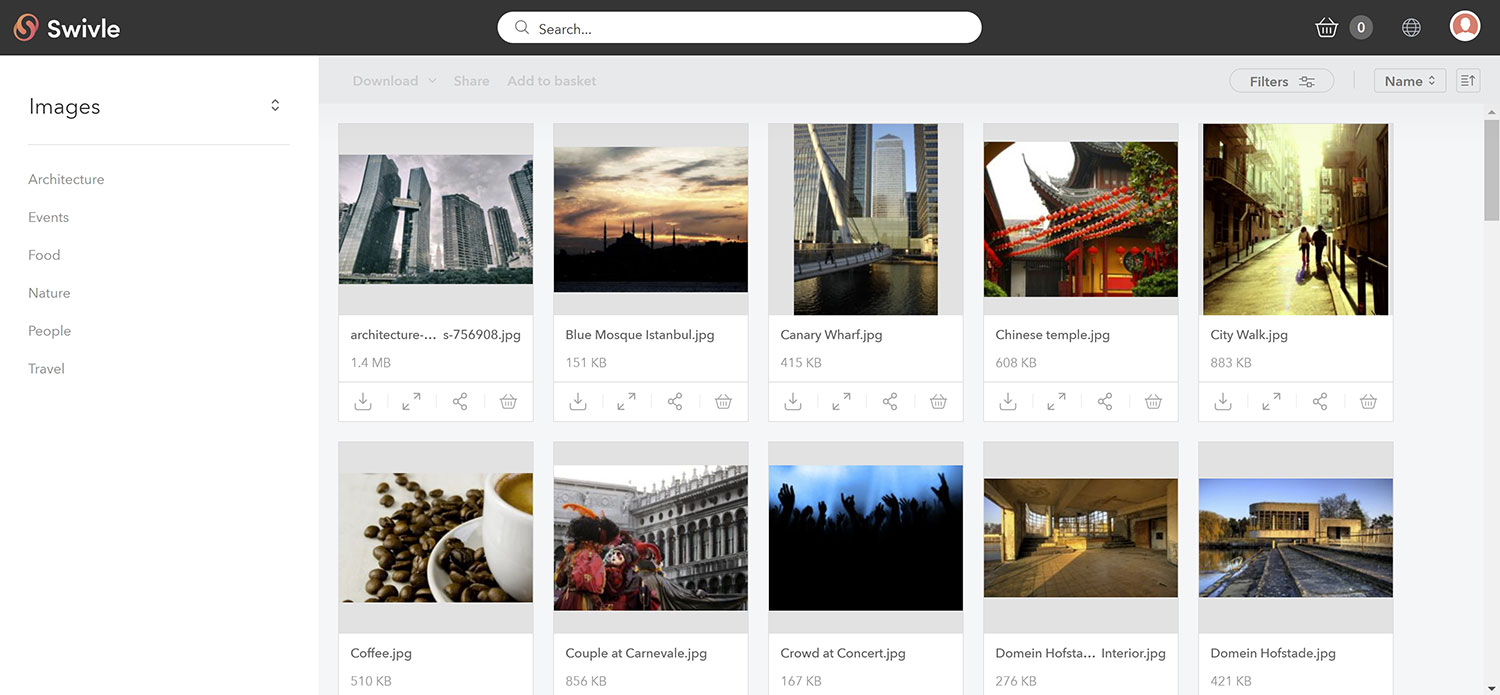
By default, the Brand portal will show you all the files you have access to in Swivle. To find the files you need, you can browse by category, as seen in the image below.
Here, the current category 'Coffee ' is selected (1). The selection can be narrowed down by selecting a sub-category (2).
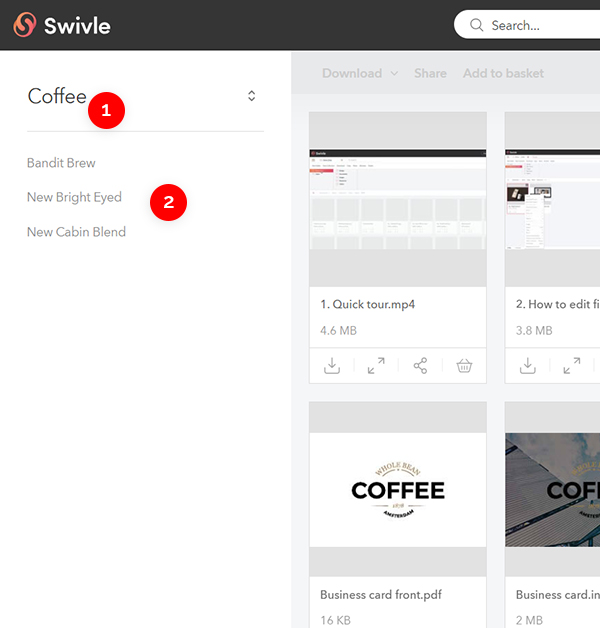
The search results can then be further refined by using the Filter options.
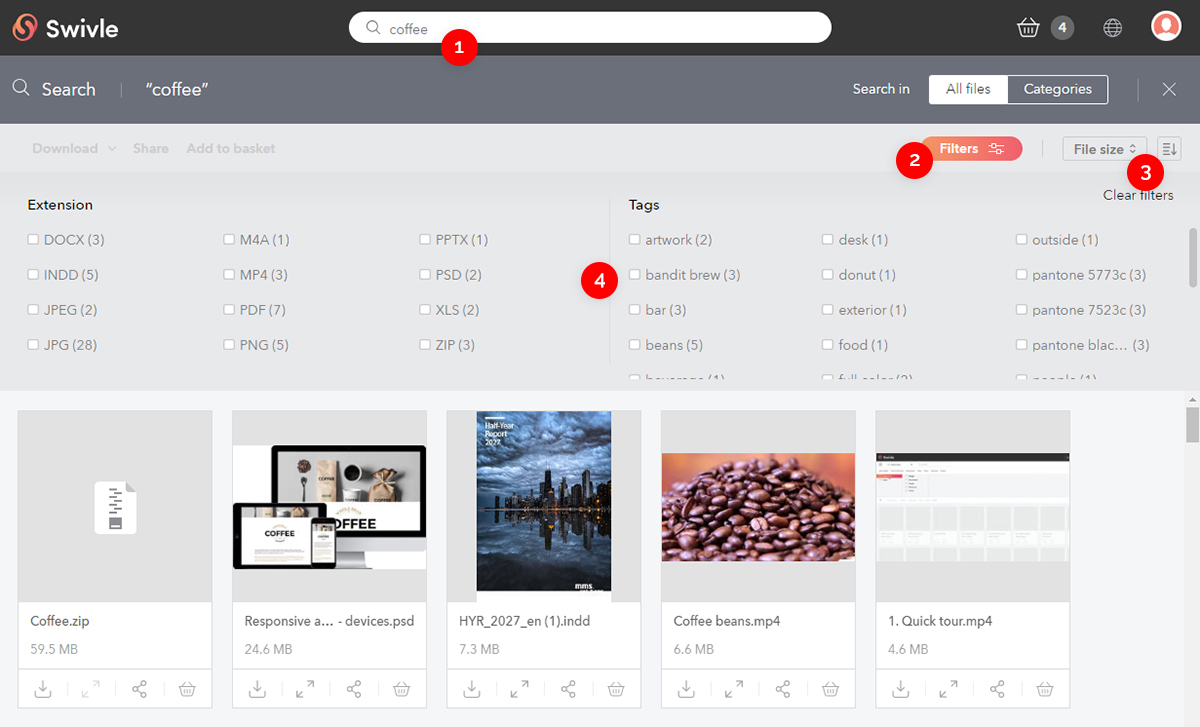
Figure: The tools for narrowing down the search results: the search box (1), the Filter icon (2), the sort options (3), and filter options (4).
For more information, see Searching for files using the Brand portal in Swivle.
Sharing files
Files that are stored in Swivle can be easily shared by using the Brand portal.
This is done by sending a hyperlink (referred to as a 'Shared Link') to someone. This hyperlink gives that person access to only those files in Swivle that you share.
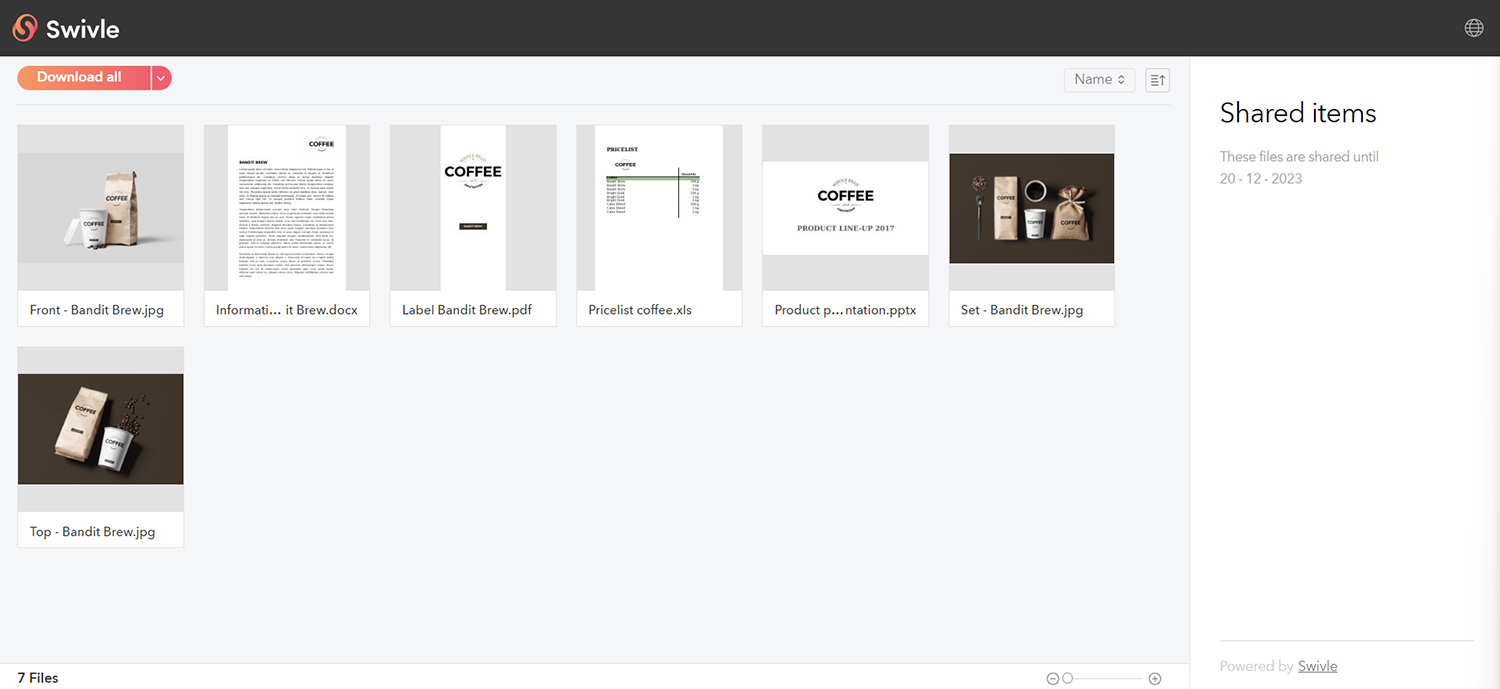
Figure: Files when viewing them in a Shared Link created by using the Brand portal.
For information about how to created Shared Links, see Sharing files with others using the Brand portal in Swivle.
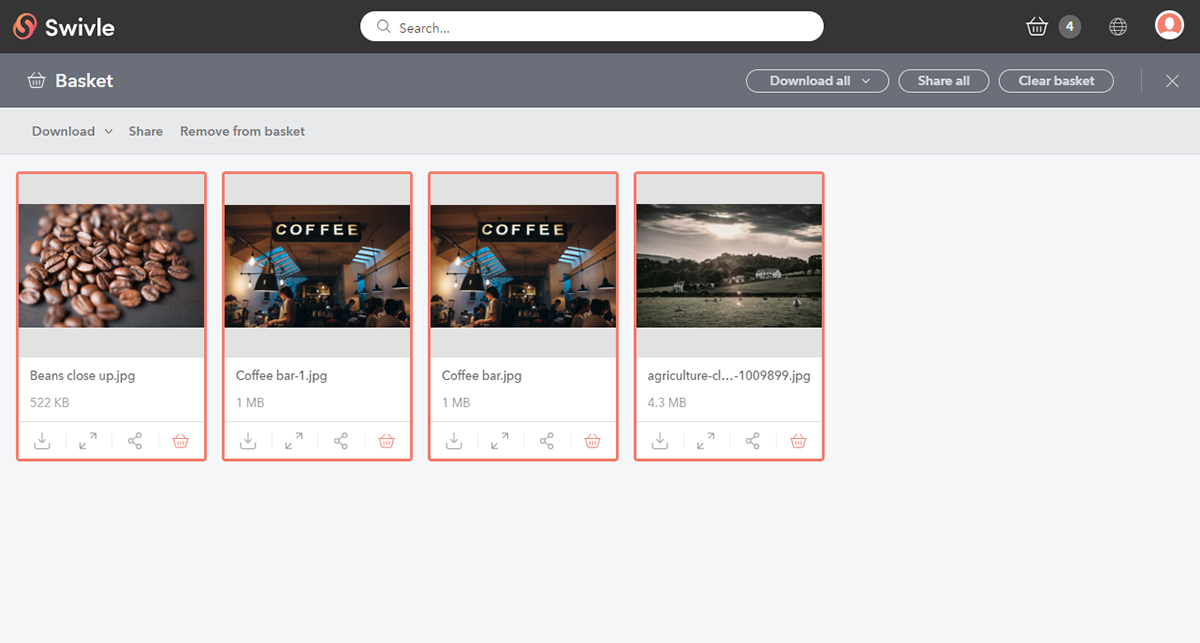
Working on files in batch
When working on multiple files in the Brand portal — such as downloading or sharing them — the first task is to find the files you want to work on. Typically these files are stored in multiple locations.
Instead of working on the files in their original location one-by-one or in small groups, you can first add them to a Basket. From there you can work on them in one action.
For more information, see Working on multiple files in batch in the Brand portal of Swivle.
Comments
0 comments
Please sign in to leave a comment.