The Studio toolbar in Studio for InCopy contains buttons that provide quick access to tasks that are often used when working on an article.
This article describes how to use the toolbar and its options.

Accessing the toolbar
Choose Window > Studio > Studio Toolbar.
|
Tip: For easy access, dock the toolbar in the main toolbar area of the InCopy interface, in the bottom toolbar next to the overset indicator (see image below), or use it as a floating toolbar close to the area where you are working.
|

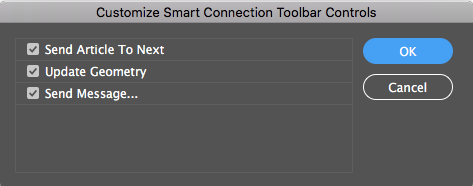
Customizing the toolbar
Buttons that are not used can be hidden.
Do this by opening the toolbar menu and clearing the check boxes for the buttons that should be hidden.

Using the toolbar options
The toolbar contains the following options:
- Send Article to Next. For assigning the next Workflow Status to the article.
- Update Geometry. For updating the article with the latest available geometry information.
Note: Geometry information is information about the way the article is placed on the layout, such as its position and size. Changes to the geometry can affect the content of the article: you may have more or less space to write text.
Changes in the geometry are triggered from within InDesign when the designer is working on the layout. This is indicated by the Update Geometry button changing color: yellow for low priority changes and red for high priority changes.
![]()
|
Notes:
|
- Send Message. For sending a message to the designer of the layout of which the article is part.
Comments
0 comments
Please sign in to leave a comment.